
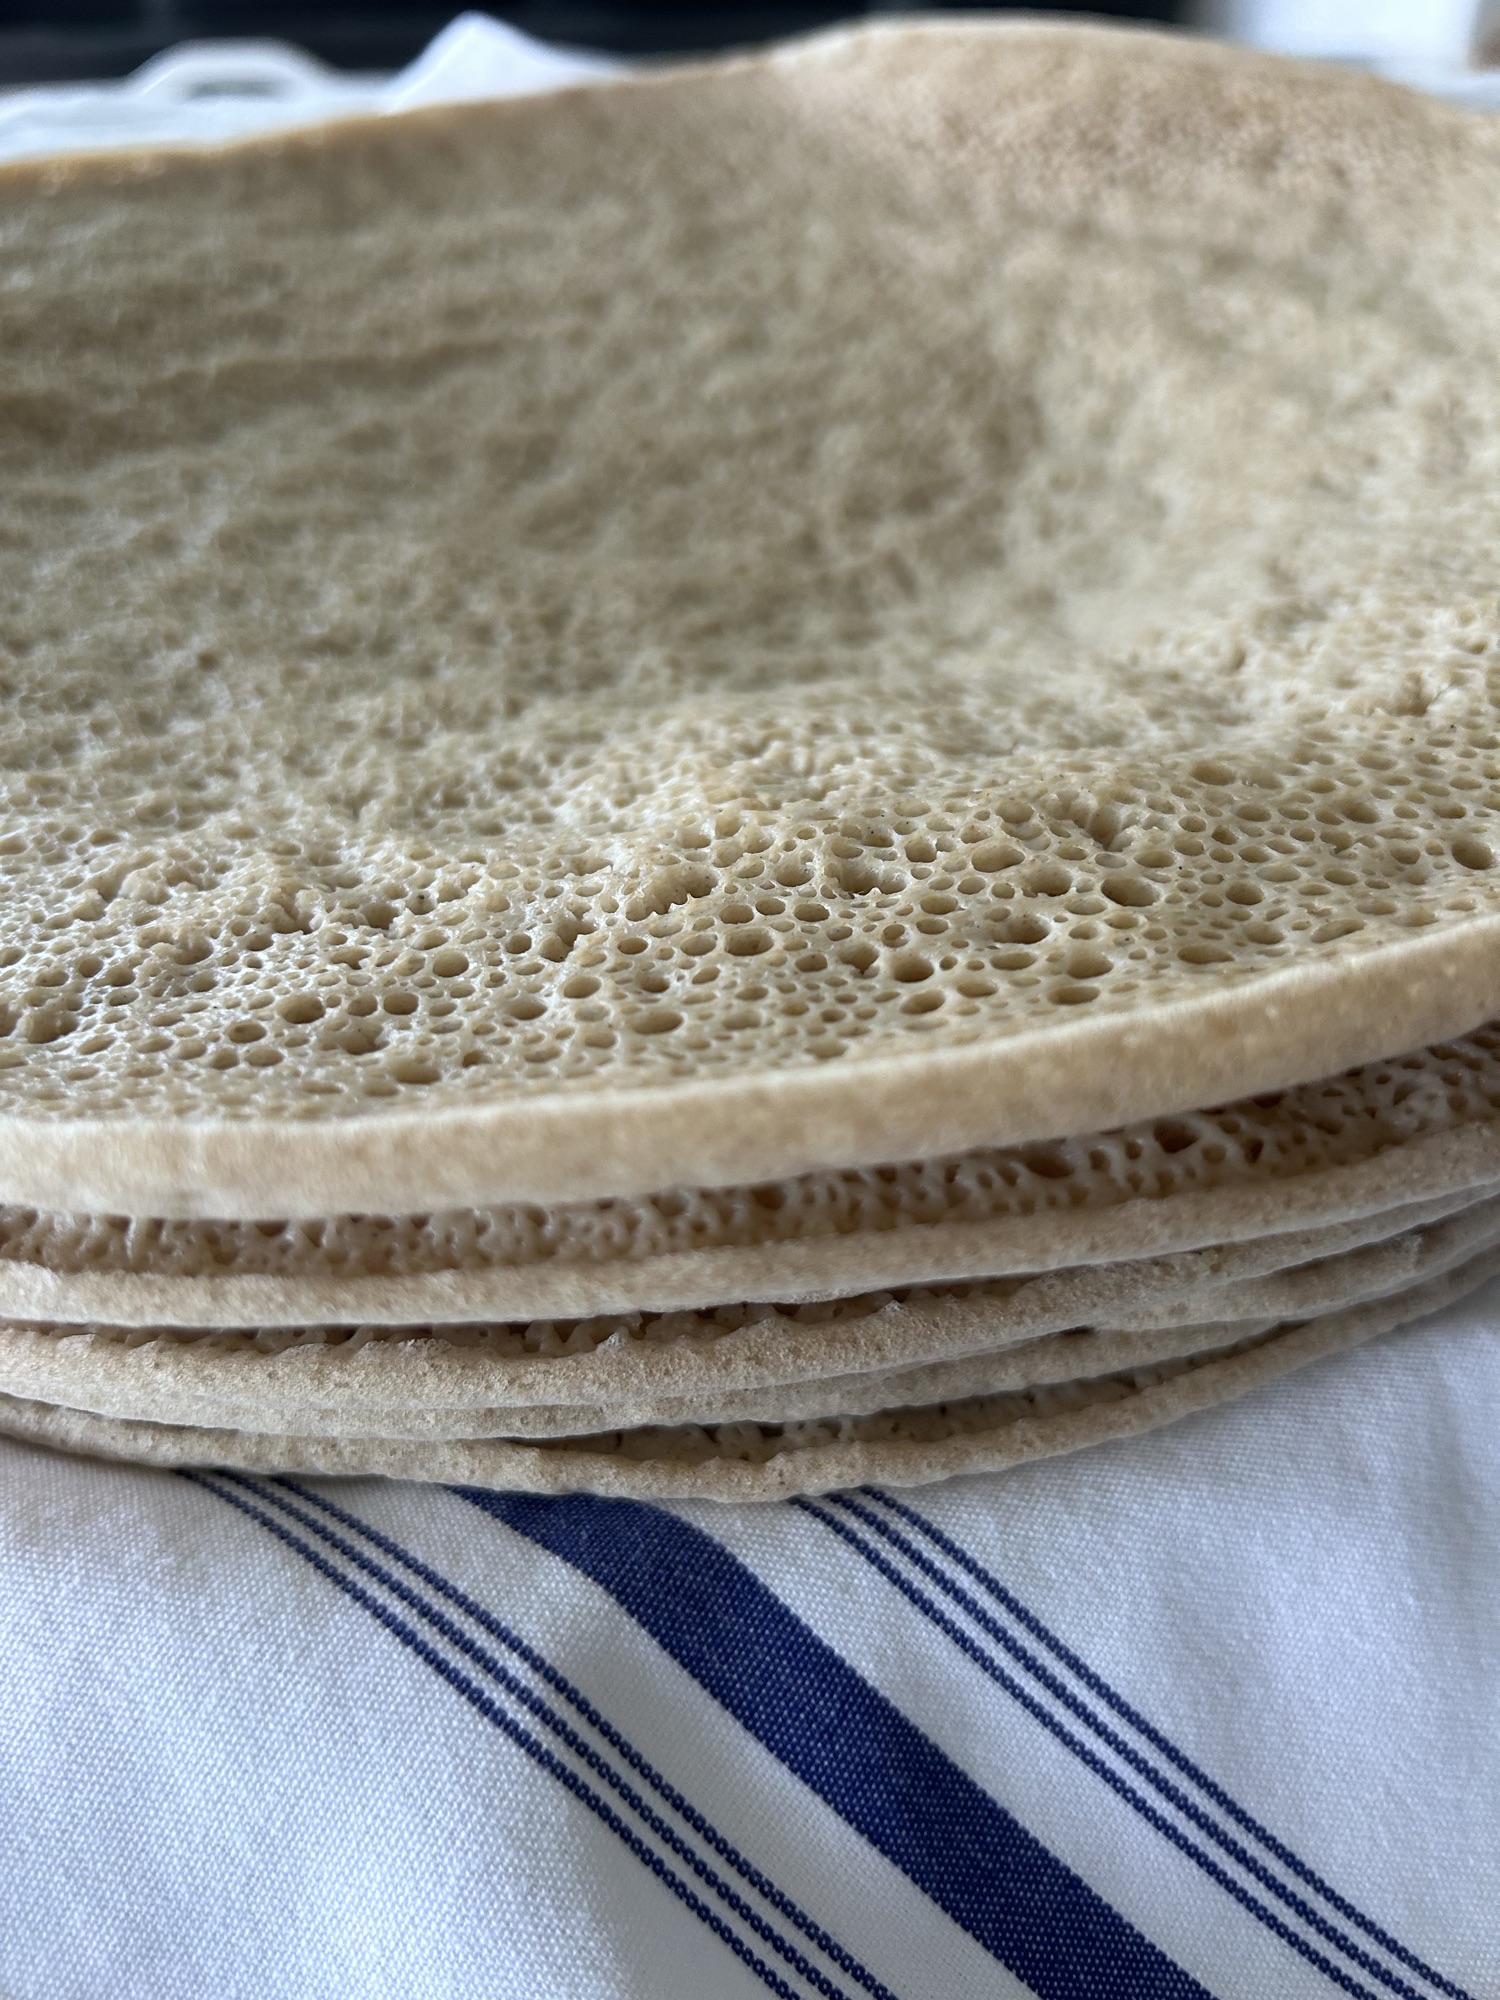
An Easy Instant Pot Recipe. Homemade Eritrean and Ethiopian Injera When You’re Short on Time
Sometimes life gets busy, and before you know it, you’ve forgotten to start your injera batter. Or perhaps you’ve received a last-minute call from friends or family who are coming to visit. They may say, “We’re just coming to see you!” But if you grew up in an Eritrean or Ethiopian household, you know that welcoming guests often means sharing something delicious from your kitchen.
After all, food is more than just a meal in our culture. It’s a way of showing love, generosity, and hospitality. Traditionally, making injera takes several days of fermentation to develop its signature tangy flavor and beautiful texture. But what happens when you don’t have several days to spare?
That’s where this Quick Injera in 24 Hours recipe comes in! With a little help from an Instant Pot, some prepared injera starter, and a simple sparkling water trick, you can make homemade injera in just about a day.
It’s a convenient alternative for those busy weeks, unexpected visitors, or moments when you’re craving a homemade Eritrean or Ethiopian meal.
What Makes This 24-Hour Injera Recipe Different?
Traditional injera preparation is a beautiful process that requires time, patience, and practice. The fermentation develops the flavor and helps create the tiny holes, often called eyes, that give injera its characteristic spongy texture.
This quicker method uses three helpful shortcuts:
- An Instant Pot: The low-temperature yogurt setting provides a warm environment that encourages fermentation.
- Prepared injera starter: An active starter helps get the fermentation process going without starting from scratch.
- Sparkling water: A small amount added just before baking helps introduce bubbles when you’re skipping the traditional lafa preparation.
While the results may differ slightly from traditionally fermented injera, this method is a wonderful option when time is limited.
Ingredients
This recipe uses just a few simple ingredients.
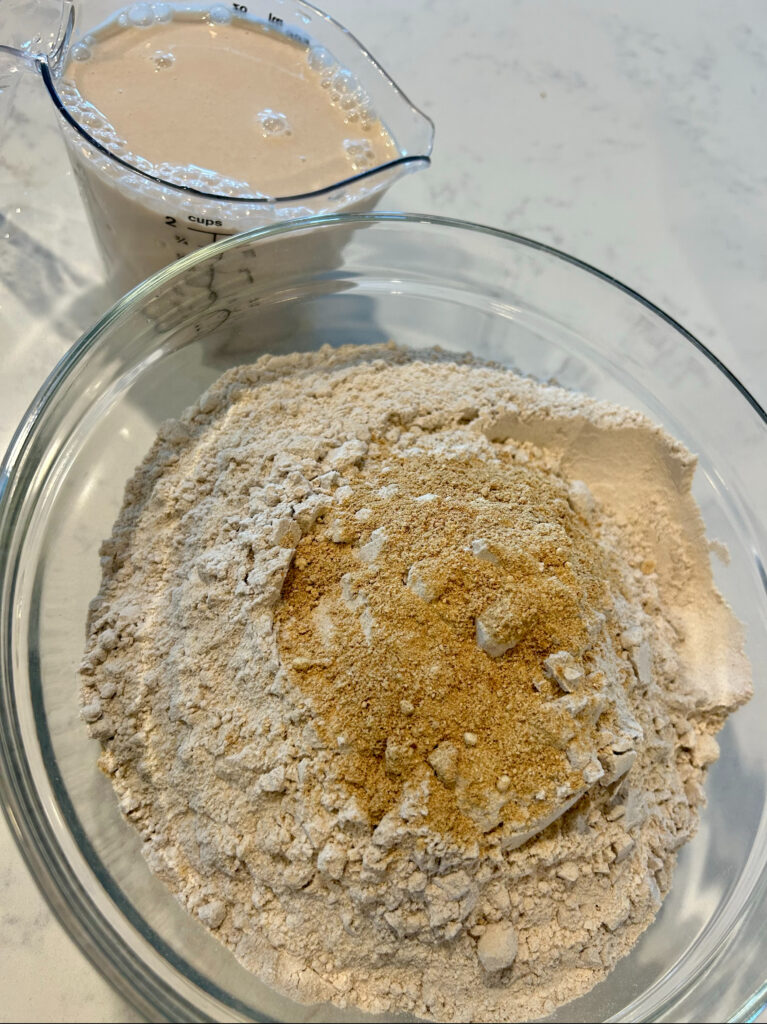
- 5 cups teff flour, sifted
- 2 cups prepared, active injera starter
- A tablespoon Fenugreek powder
- Up to 5 cups water, added gradually
- Sparkling water, approximately 1 shot-glass amount per cup of batter, adjusted as needed
Equipment You’ll Need
- Instant Pot with a suitable low-temperature yogurt setting
- Measuring cups
- Sifter
- Mogogo or mitad (traditional injera griddle)
- Cup for mixing batter before baking
- Clean cloth or suitable cover for the baked injera
Step-by-Step Instructions
Step 1: Prepare Your Injera Batter
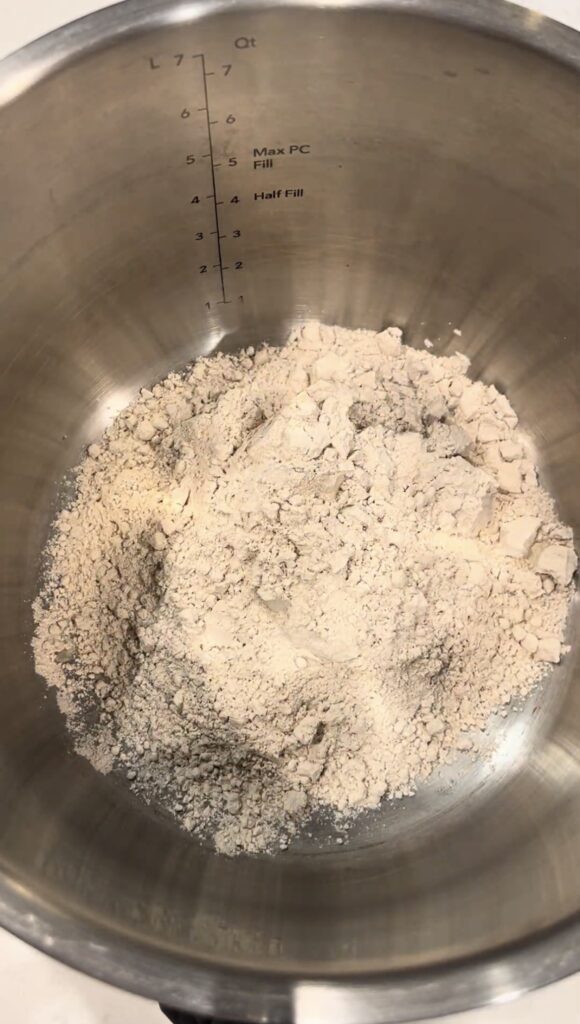
- Add 5 cups of sifted teff flour and a tablespoon of Fenugreek powder.
- Start by pouring 2 cups of prepared injera starter into the Instant Pot’s inner pot.
- Gradually add water, a little at a time, while mixing thoroughly with your hands. This step is important because adding too much water at once can create lumps that are difficult to remove.
- Continue mixing until the flour and starter are well combined and the batter is smooth.
- Add the remaining water as needed, making sure the batter has enough room to expand during fermentation.
Important: Do not fill the Instant Pot’s inner pot beyond the maximum fill mark.
Step 2: Ferment the Batter for 24 Hours
- Place the inner pot into your Instant Pot.
- Select the Yogurt/Low setting, provided your model maintains a gentle, fermentation-friendly temperature, and set the timer for 24 hours.
- Avoid using a high-temperature pasteurization or boil cycle, as excessive heat can damage the active starter.
- Cover the batter using a method appropriate for your Instant Pot model, without pressure-sealing the fermenting mixture.
- Let the batter ferment undisturbed for approximately 24 hours.
During this time, the starter will work its magic, developing the characteristic tangy flavor and airy texture of injera batter.
Step 3: Check Your Fermented Batter
After 24 hours, open the Instant Pot and take a look. You should notice some bubbling and fermentation activity. You may also see a watery layer forming on top of the batter. This is a normal occurrence during injera fermentation.
Carefully pour off the excess liquid on top, if needed, without discarding the fermented batter underneath. Add two cups of water a little at a time and mix thoroughly until you reach the desired consistency.
The perfect batter should be neither too thick nor too watery. It should pour smoothly and spread easily across your cooking surface. If it’s too tick for your liking, add more water – a little at a time.
Step 4: Traditional Lafa or the Quick Sparkling Water Method?
At this point, you have two options.
Option 1: Prepare Lafa the Traditional Way
If you have extra time and prefer the traditional method, you can prepare lafa (a cooked batter preparation sometimes called absit) to help improve the texture and structure of your injera.
This additional step is especially helpful for those who prefer the familiar texture of traditionally prepared injera.
Option 2: Use Sparkling Water for a Quick Shortcut
If you’re short on time, sparkling water offers a convenient alternative to try.
The carbonation introduces bubbles into the batter just before cooking. Although it doesn’t fully replace the effects of traditional lafa, it can help create a lighter batter.
For this recipe, we’re going with the sparkling water shortcut!
Step 5: Preheat Your Mogogo or Mitad
Preheat your mogogo or mitad to approximately 300°F (149°C) as a starting point, adjusting the heat according to your griddle and how the injera cooks.
The cooking surface should be evenly heated before pouring the batter.
Step 6: Add Sparkling Water and Cook Your Injera
Here’s the fun part!
- Pour approximately 1 cup of fermented injera batter into a separate cup.
- Add a small amount of sparkling water, about a shot-glass amount.
- Gently mix and watch the bubbles begin to form.
- Wait approximately 30 seconds.
- Pour the batter onto your preheated mogogo or mitad, working in a circular motion to spread it evenly.
- Allow the injera to cook until tiny holes appear across the surface and the top begins to set.
- Cover the griddle briefly, if needed, to help the surface finish cooking.
- Once the surface is cooked and no wet batter remains, carefully remove the injera.
Remember, injera is traditionally cooked on one side only, so there’s no need to flip it!
Repeat the process with the remaining batter, adding sparkling water to each portion shortly before cooking.
Helpful Tips for Making Quick Injera
1. Start with an active starter. Since this recipe relies on a shorter fermentation period, a healthy, active injera starter makes a difference.
2. Add water gradually. The consistency of the batter affects how easily it spreads and how the finished injera feels.
3. Don’t skip sifting your teff flour. This simple step helps prevent lumps and creates a smoother batter.
4. Pay attention to your cooking temperature. Every mogogo or mitad is a little different. Adjust the heat as needed to avoid burning the bottom before the top has finished cooking.
5. Be patient with your first injera. Just like making pancakes, the first one often helps you determine whether the temperature and batter consistency need adjusting.
6. Remember that fermentation varies. Starter strength, temperature, and flour can all affect how quickly your batter ferments. Look for bubbles and a pleasantly sour aroma rather than relying on the clock alone.
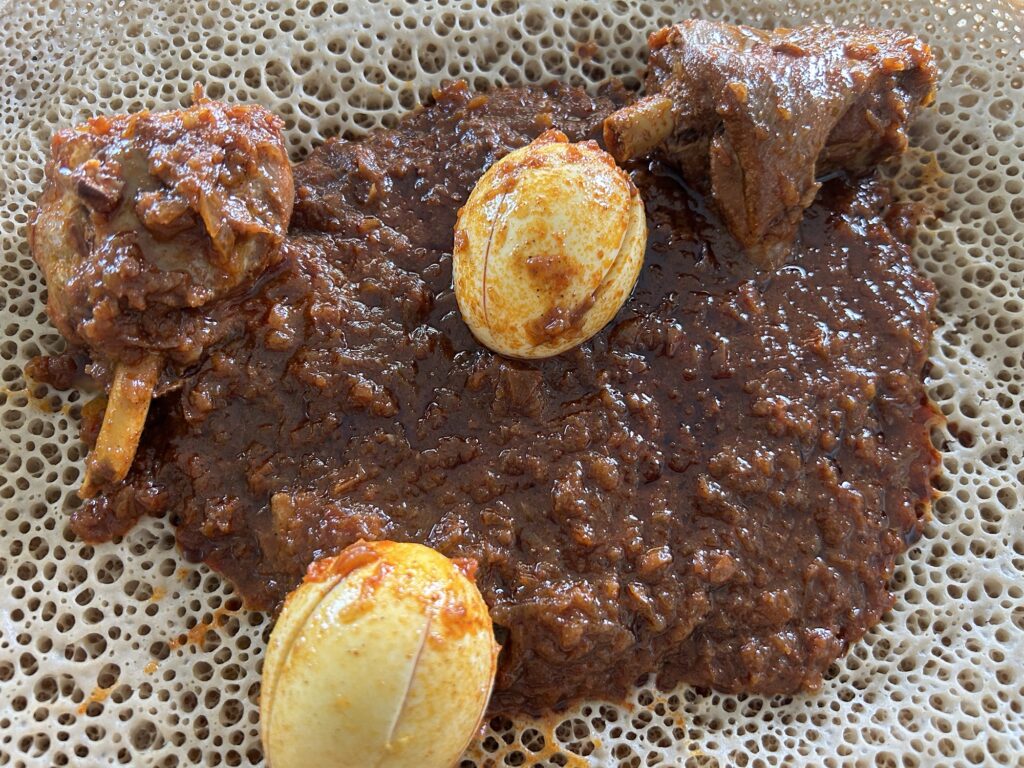
What to Serve with Your Homemade Injera
One of the best things about homemade injera is how beautifully it brings a meal together.
Whether you’re preparing a family dinner or welcoming guests into your home, injera is the perfect companion to so many traditional Eritrean and Ethiopian dishes.
Some favorites include:
- Shiro: A comforting, flavorful chickpea-based stew.
- Hamli or Gomen: Delicious sautéed leafy greens.
- Birsin or Misir Wot: A hearty, spiced red lentil stew.
- Alicha: A mild, aromatic vegetable or legume stew.
- Vegan Combo Platter: A colorful selection of traditional plant-based dishes served together on injera.
- Tsebhi Derho/Doro Wot:
There’s something special about gathering around a shared platter, enjoying good food, and spending quality time with the people we love.
A Little Reminder About Hospitality
Growing up with Eritrean and Ethiopian food traditions teaches us that hospitality isn’t always about preparing something elaborate. It’s about making the most of what we have and welcoming others with an open heart.
A warm meal, freshly made injera, and good conversation can turn an ordinary visit into a beautiful memory. And while the traditional injera-making process will always have a special place in our kitchens, it’s nice to know there’s a quicker option for those days when life doesn’t go exactly as planned.
Because sharing the blessings of our home shouldn’t have to wait until the batter is ready three days later!
Frequently Asked Questions
Can I really make injera in 24 hours?
Yes! With a prepared, active injera starter and a suitable warm fermentation environment, you can often prepare injera batter in approximately 24 hours. Results will vary depending on your starter and temperature.
Can I make this recipe without an Instant Pot?
You can ferment injera batter without an Instant Pot, but fermentation time will depend on your room temperature and starter activity. The Instant Pot simply helps maintain a more consistent environment.
Does sparkling water replace traditional lafa?
Not exactly. Sparkling water adds carbonation to the batter, while traditional lafa helps develop texture through a different process. It’s a useful shortcut to experiment with when time is limited.
Why isn’t my injera forming enough holes?
This can happen if the batter hasn’t fermented sufficiently, the consistency is too thick or thin, or the cooking surface isn’t at the right temperature. Adjust one factor at a time until you find what works best.
Can I use any type of teff flour?
You can experiment with different varieties of teff flour, including brown and ivory teff. Keep in mind that the flavor, color, and water absorption may vary.
Final Thoughts
Making injera is more than following a recipe. It’s a connection to our roots, our families, and the traditions passed down through generations. This 24-hour version is not meant to replace the traditional process. Instead, it’s another way to keep our beautiful food traditions alive while adapting to our busy lives.
Whether you’re making injera for the first time or simply need a quicker method, I hope this recipe brings a little convenience and a lot of joy to your kitchen.
Have you ever tried making injera in an Instant Pot? Or do you have a favorite shortcut for making injera when you’re short on time?
I’d love to hear about your experience! Share your tips, questions, or results in the comments below.
Happy cooking, and may your home always be filled with love, laughter, and delicious food!
With love from Healthy Eritrean & Ethiopian Recipes.
Leave a Reply