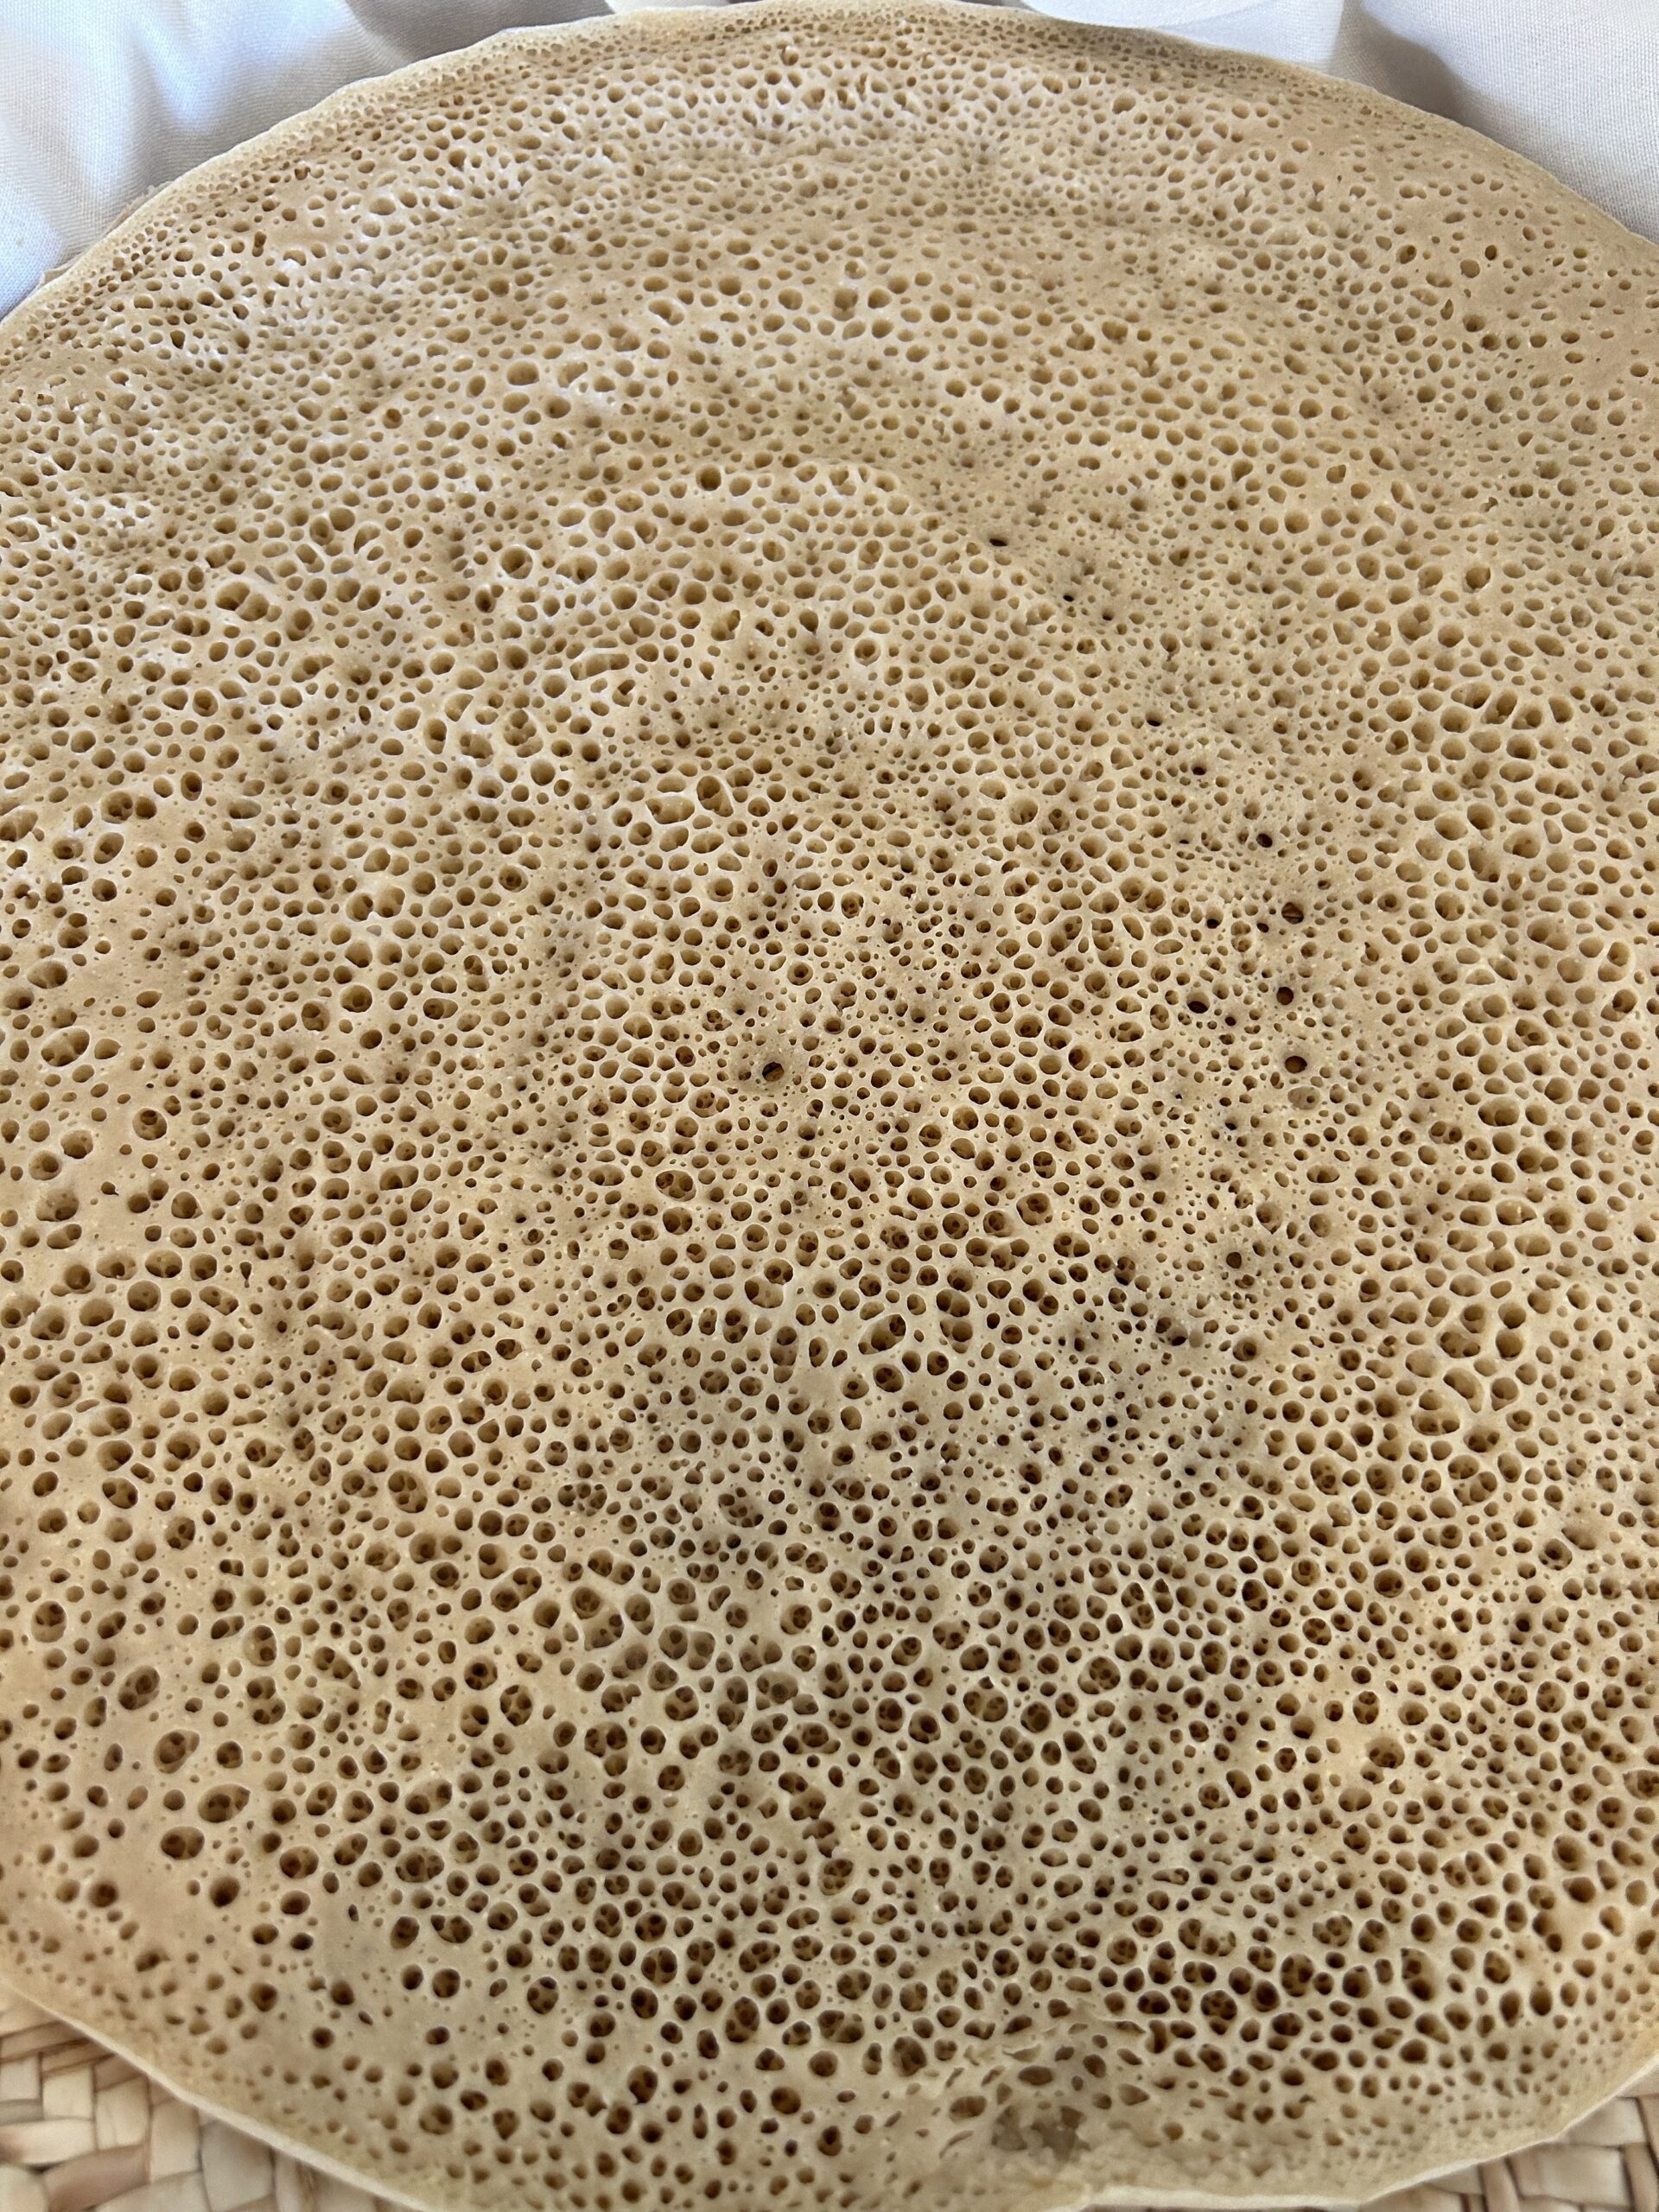
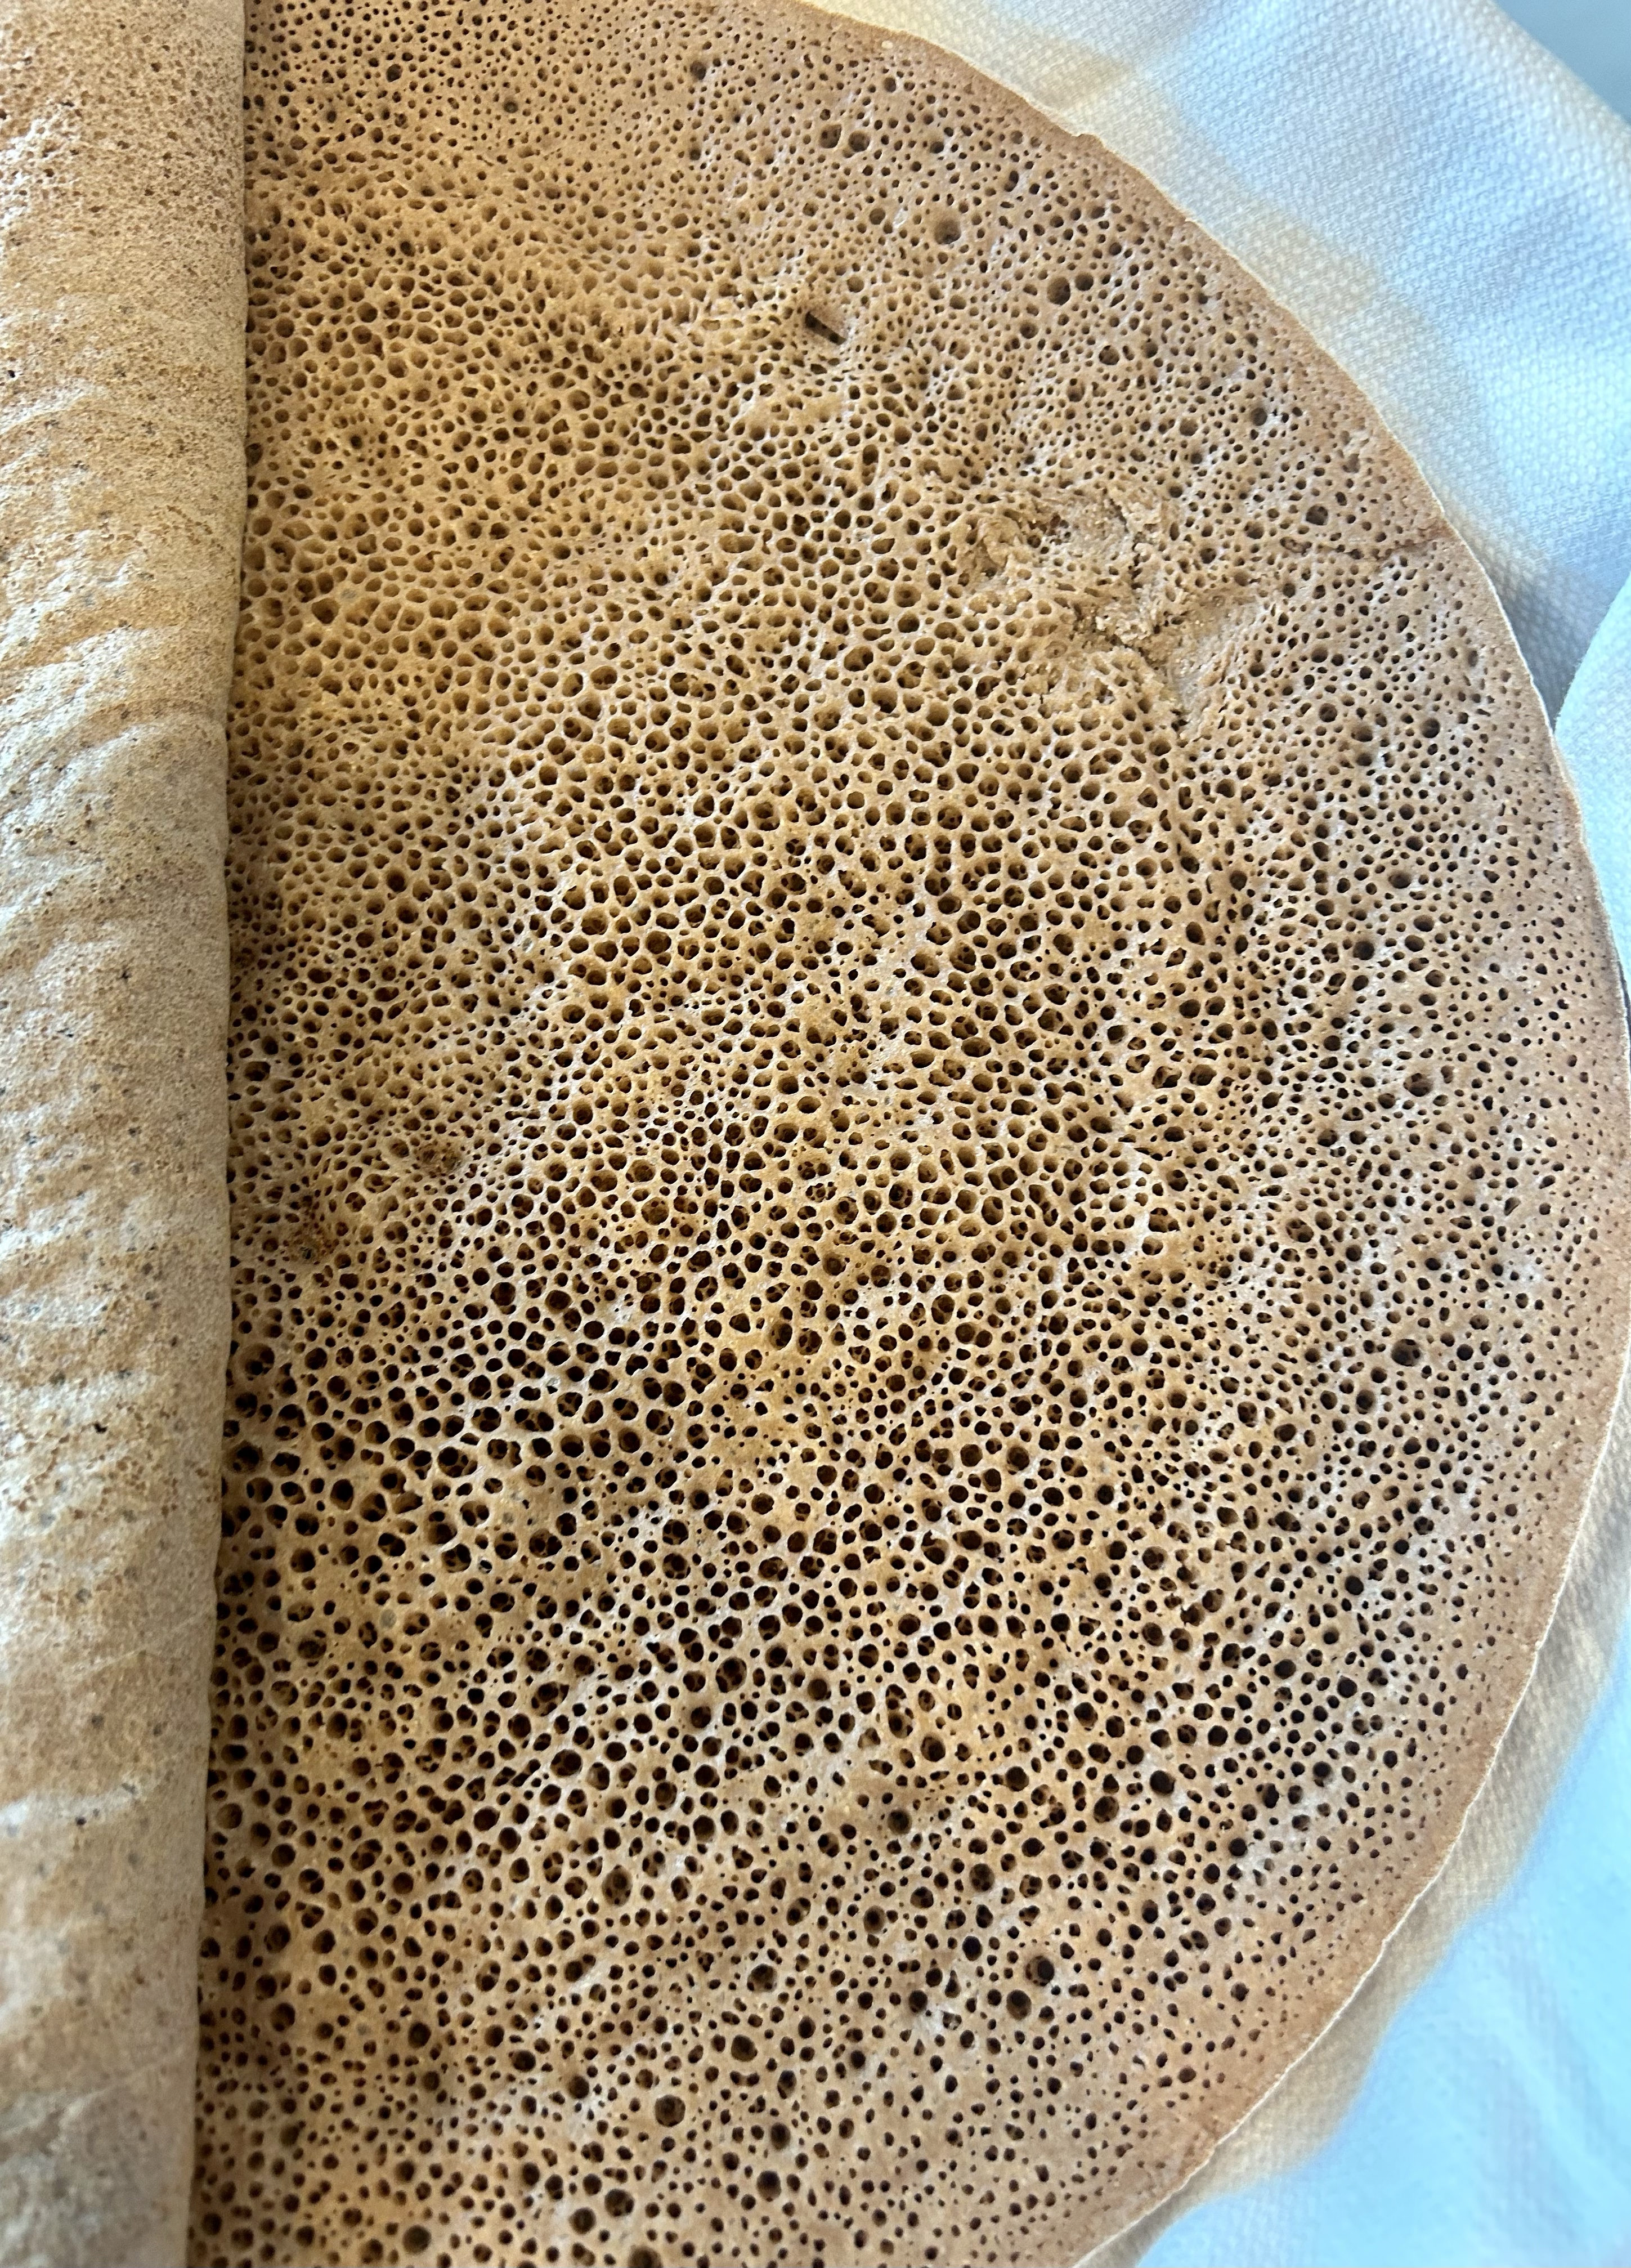
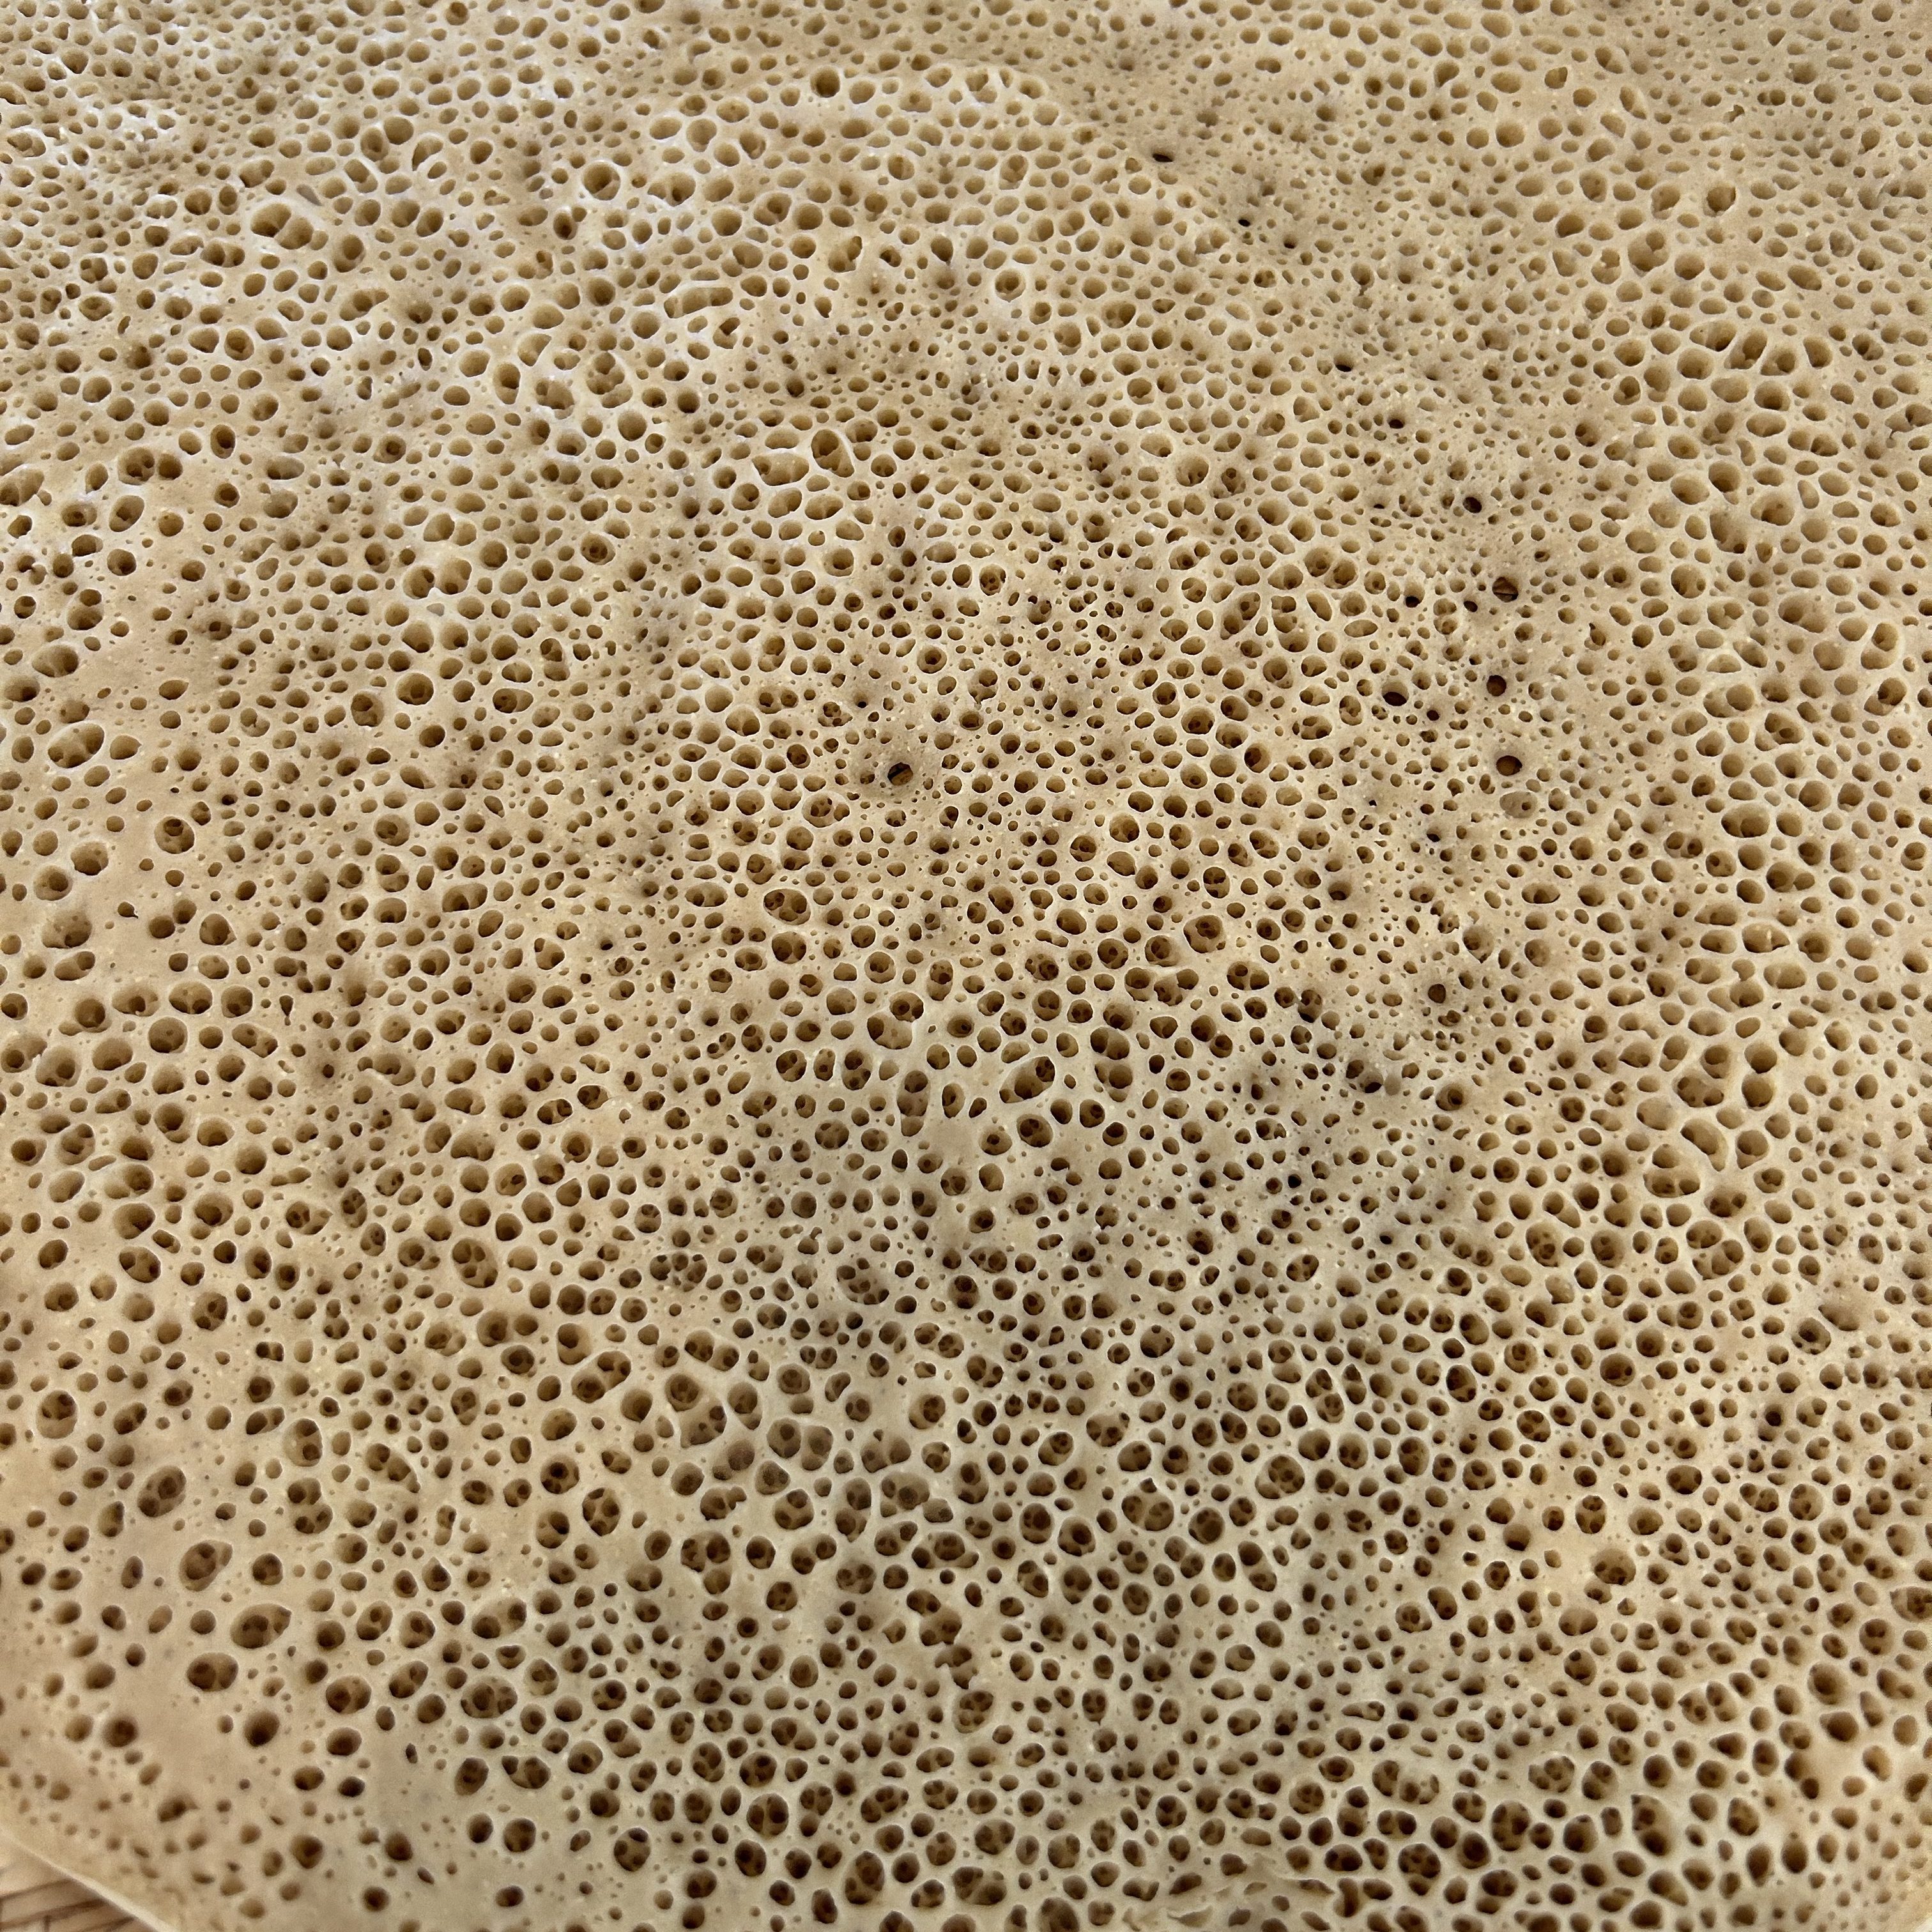
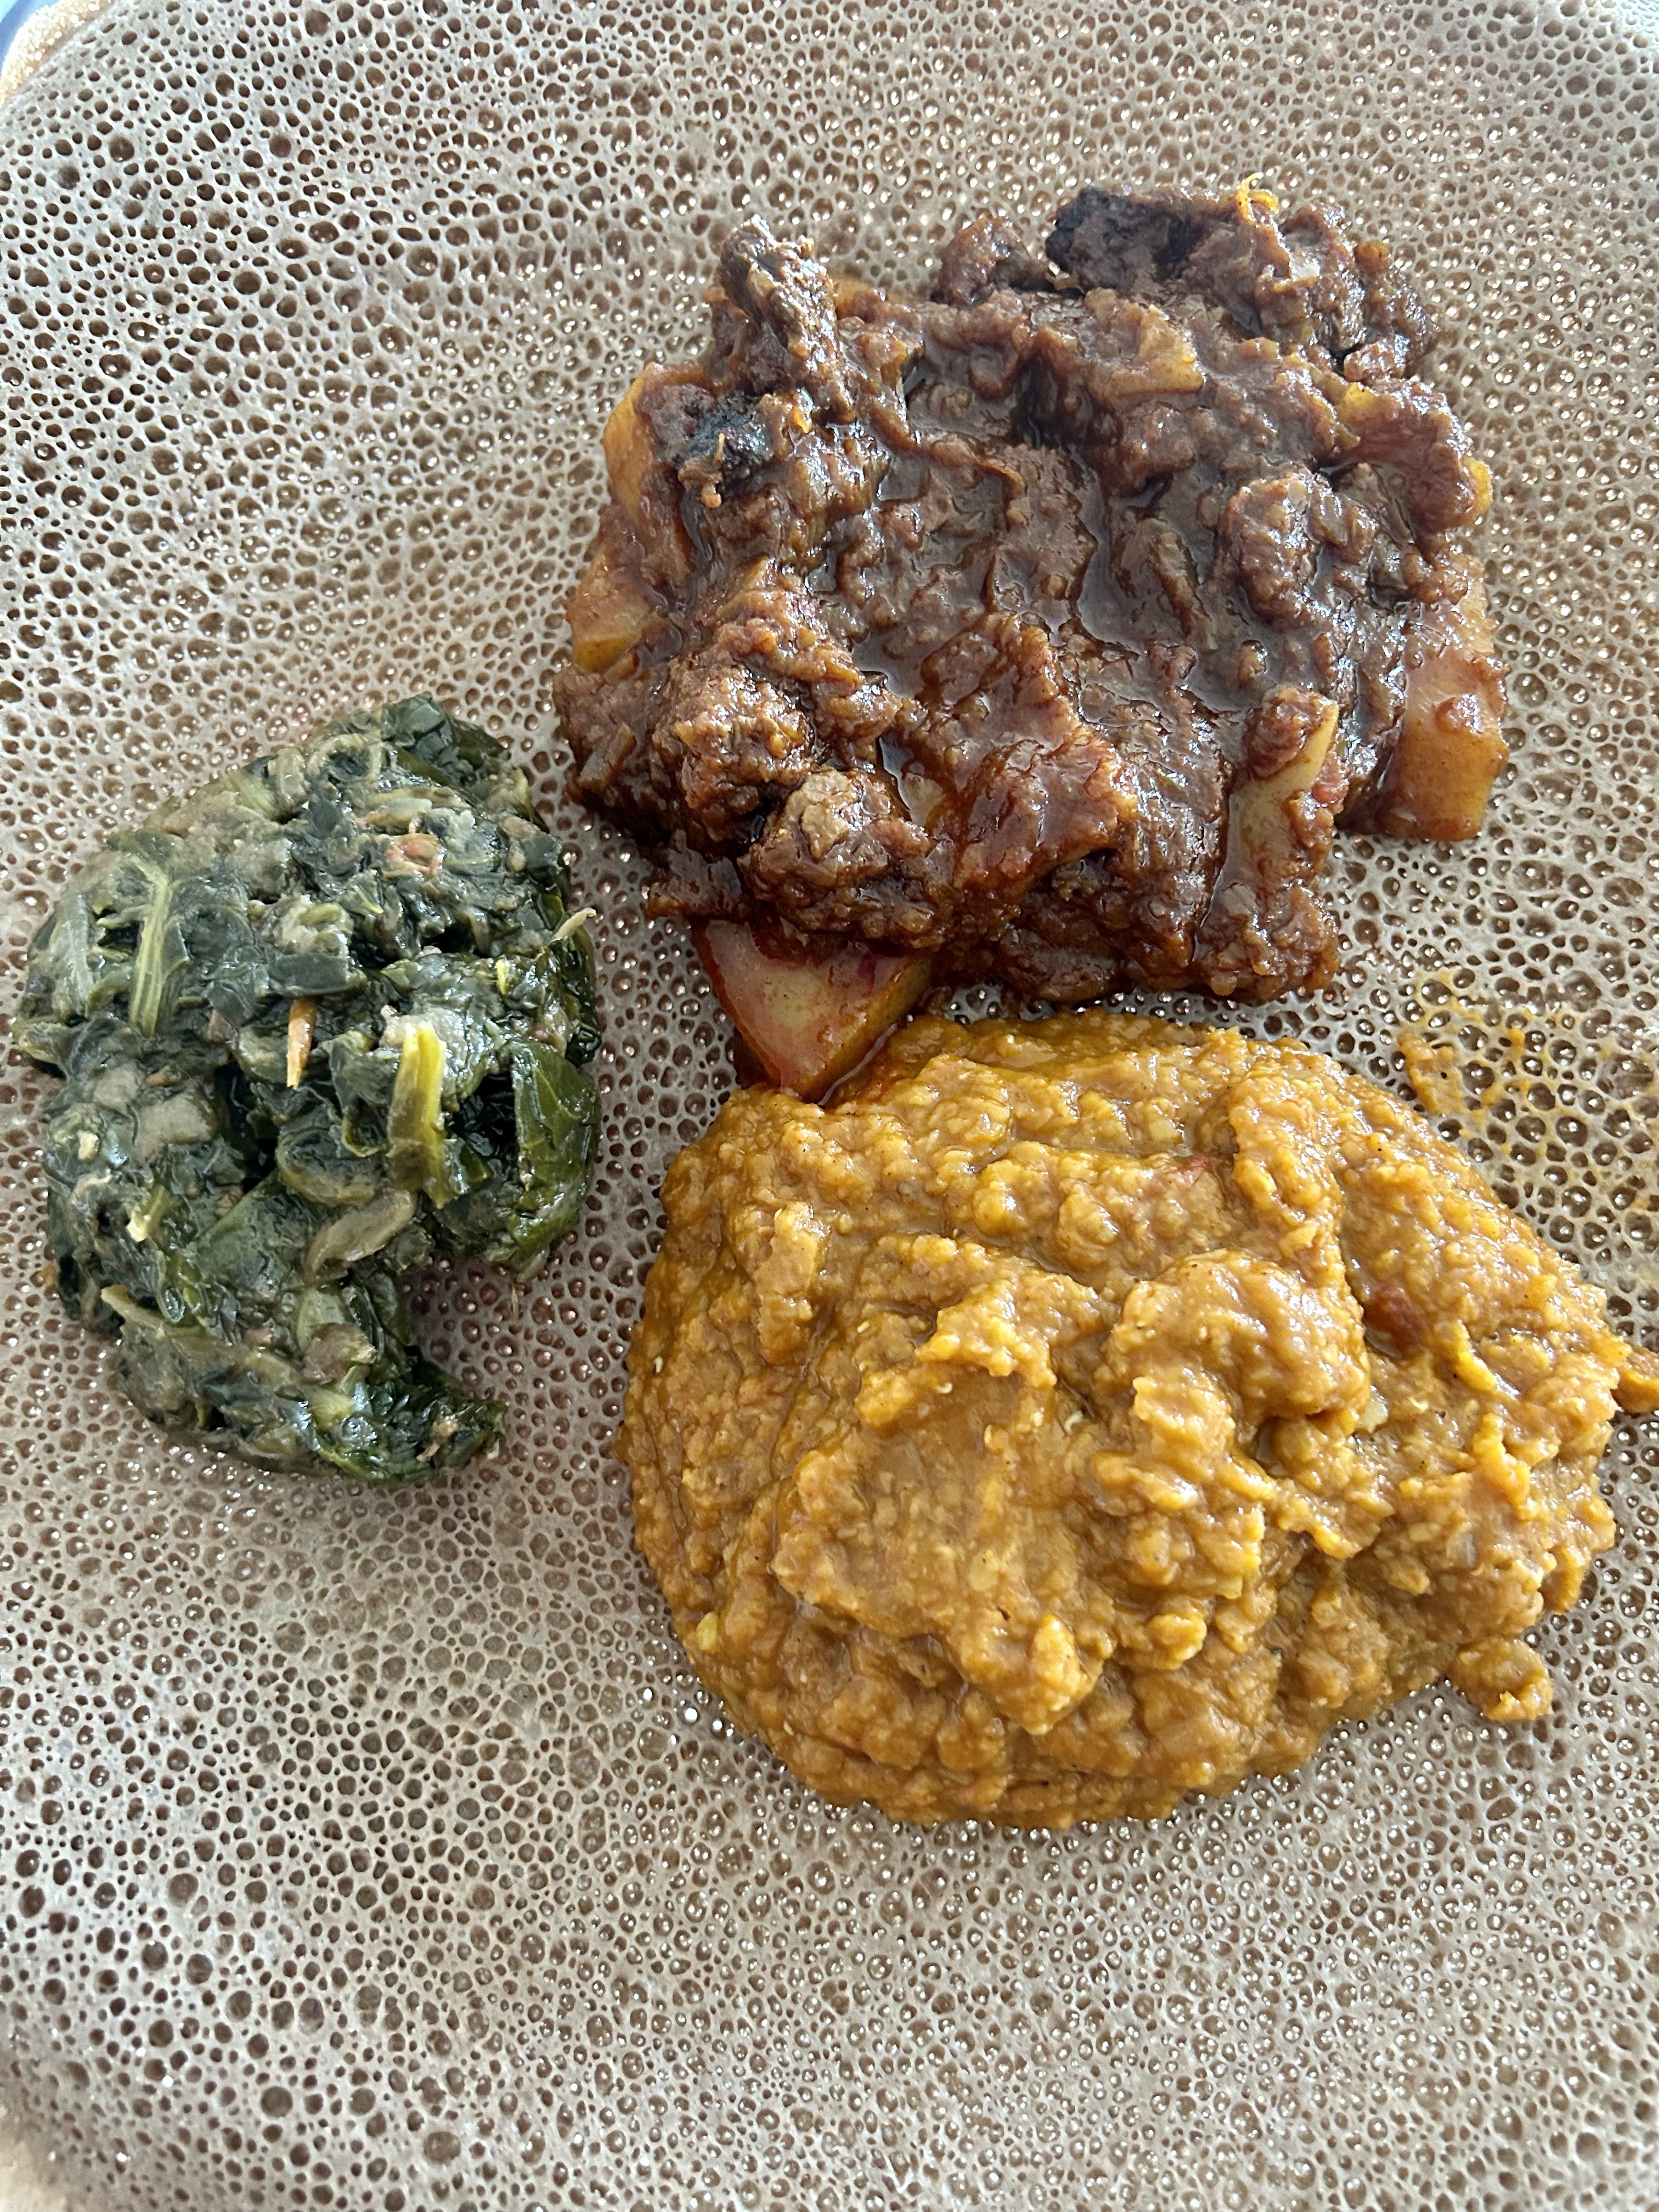
Injera እንጀራ is a traditional flatbread that is a staple food in Eritrean and Ethiopian cuisine. It is a key component of many meals in these countries and is used as both a serving utensil and an accompaniment to various dishes.
Injera is made from teff flour, which is a type of ancient grain indigenous to the region. Teff is a good source of dietary fiber, protein, iron, calcium, magnesium, zinc, and B vitamins especially B6 and B9 also known as folate. It is also low in fat and gluten free. Due to it’s nutritional content, teff has gained popularity in the west in recent years.
It is important to note that the nutritional content of teff may vary based on factors such as the variety of teff (brown, ivory, white, red), growing conditions, and how it is prepared. Teff can be incorporated into a variety of dishes beyond injera, such as porridges. Teff can also be used in baked goods like pancakes, muffins and cakes.
How to make Injera
The process of making injera involves fermenting teff flour batter, which gives the bread its distinct sour taste and spongy texture. The batter is poured onto a hot circular griddle or pan called mogogo – መጎጎ (in Tigrigna) or mitad ምጣድ (in Amharic) and baked until it forms a large, thin, and porous flatbread. Injera has a slightly tangy flavor and is known for its unique appearance – a bubbly surface.
In this blog, I invite you to embark on a journey into the heart of Eritrean and Ethiopian cuisine, exploring the nuances of making injera – a process that demands both time and patience.
Injera is a process, be patient. Climate and humidity of each region shape the character of this traditional bread. But your efforts will be rewarded with the satisfaction of creating your own homemade injera. So, join me as we delve into the art of making injera.
Ingredients
- 5 cups ivory/brown teff flour: The soul of enjera lies in the teff flour, an ancient grain native to Ethiopia. Choose between ivory and brown teff for subtle variations in flavor and color.
- 1 cup quinoa flour or quinoa seeds: Adding a modern twist to tradition, quinoa flour or seeds infuse the enjera with a nutty richness, complementing the teff’s earthy notes.
- 2 tbsp. fenugreek powder (optional): Elevate the aroma and taste profile by incorporating fenugreek powder. While optional, this ingredient lends a distinct warmth to your enjera.
- 8-10 cups lukewarm water: The lifeblood of your enjera dough, lukewarm water is crucial for achieving the desired consistency. Adjust the quantity based on the teff and quinoa’s absorption levels.
- 2 cups starter: The heart and soul of the fermentation process, the starter imparts a unique tang to the enjera. In this recipe, I recommend using a leftover starter from a previous batch, allowing for a more authentic and nuanced flavor. If starting from scratch, be mindful that your starter might yield less than 2 cups initially.
How to Make a Starter for Enjera
Ingredients:
- ¼ cup teff flour
- 1 cup water (preferably chlorine-free)
- 1 tbsp. commercial starter
Steps
- Prepare the Mixture: In a clean glass container, combine ¼ cup of teff flour with 1 cup of water. Stir well to create a smooth paste, ensuring that the teff flour is fully incorporated.
- Initiate Fermentation: Cover the container securely and allow the mixture to sit at room temperature, ideally between 70 to 75°F (21 to 24°C), for a duration of 72 hours. During this time, the magic of fermentation will begin, cultivating the essential microorganisms that define the character of your starter.
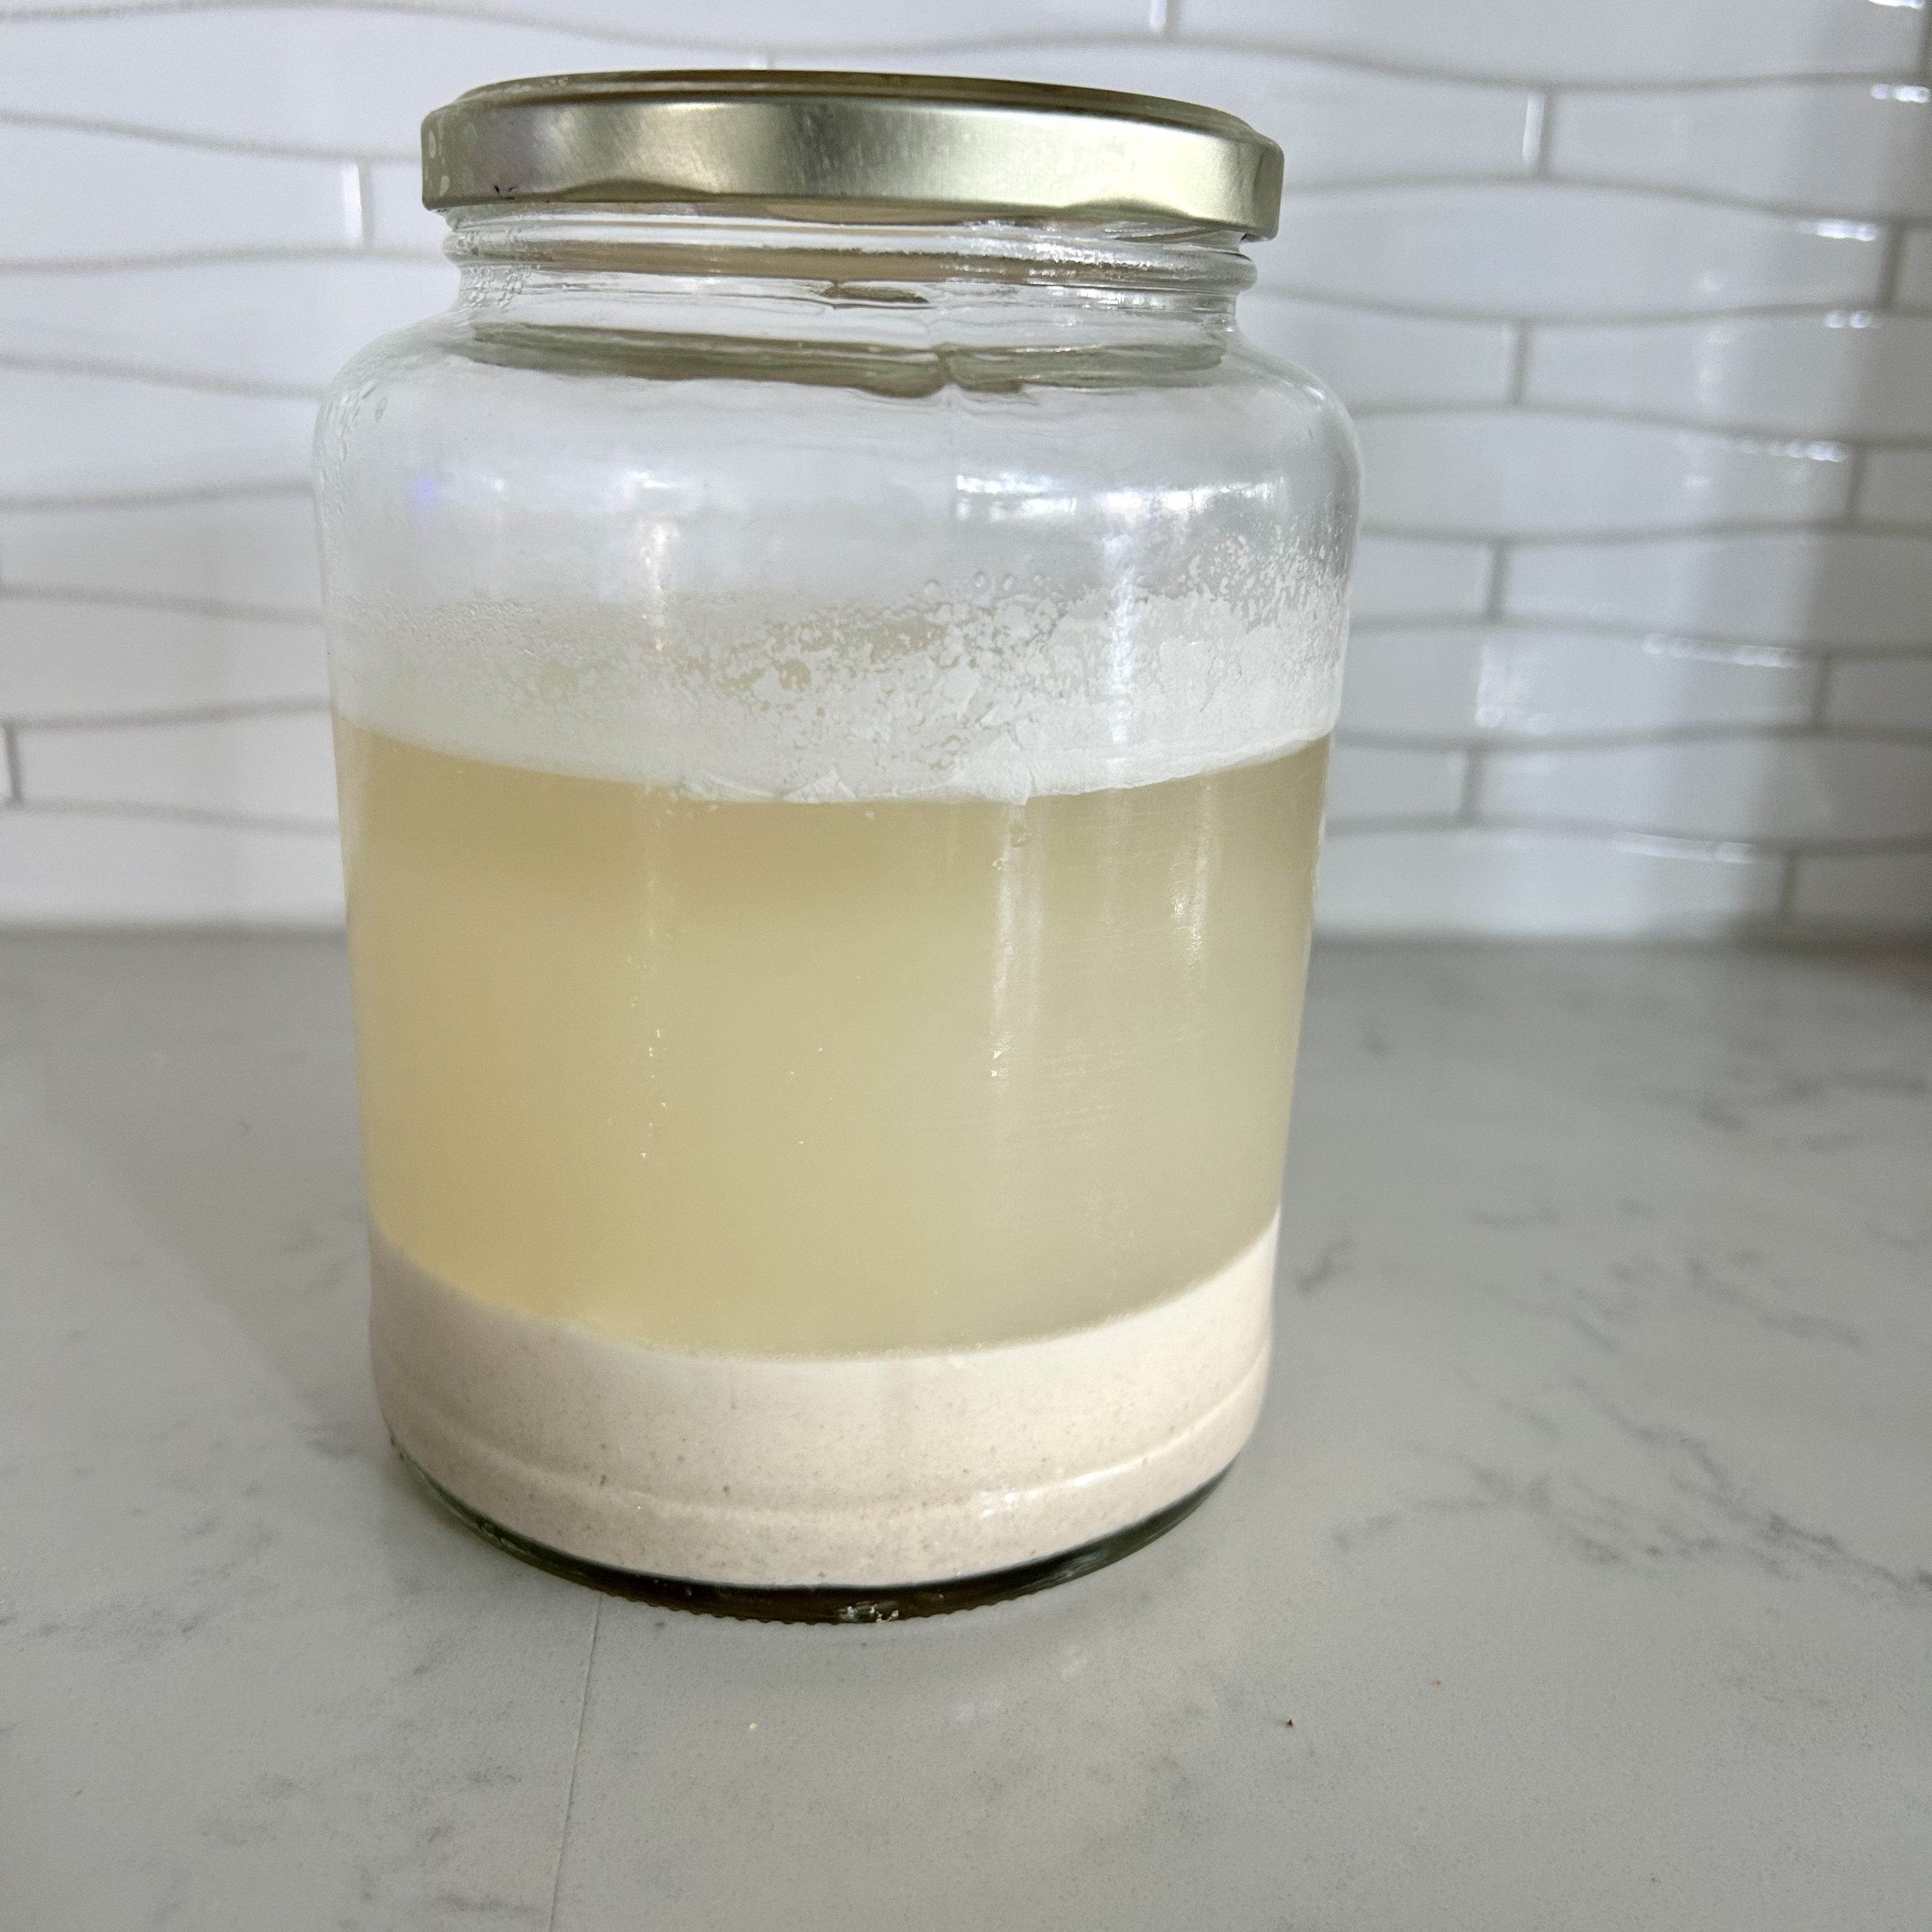
- Discard and Mix: After the initial 72 hours, you may notice a watery layer forming on top of the mixture. Carefully discard this liquid, as it contains byproducts of fermentation. Beneath this watery layer, you’ll find a thicker batter settled at the bottom of the container. This residue is the heart of your starter.
- Your Starter is Ready: Congratulations, you have successfully nurtured a vibrant starter! This living culture is now ready to infuse your injera with its unique flavors. You can use this starter immediately in your injera recipe or store it in the refrigerator for future use.
Baking Equipment Needed
- Food Grade Container with Lid: A clean and secure 5 gallon container with a lid is your starting point for cultivating the vital starter. Choose a food-grade glass container to allow the fermentation process to work its magic.
- Stand Mixer (Optional): While not mandatory, a stand mixer can be a valuable asset, making the mixing process more efficient and less labor-intensive. However, traditionalists may prefer the hands-on approach for a more authentic experience.
- Ladle, Whisk, Measuring Cup: These are the unsung heroes of your enjera-making. A ladle for precise pouring, a whisk for smooth batter, and a measuring cup for accurate quantities to ensure your injera turns out just right.
- Saucepan: Opt for a medium-sized saucepan.
- Blender: Achieve a seamless blend of flavors by using a blender to incorporate quinoa flour or seeds into your enjera batter. This step adds a delightful nuttiness to the final product.
- Egg Beater or Immersion Blender: A trusty egg beater or immersion blender comes in handy when perfecting the consistency of your enjera batter. Ensure a uniform texture for that authentic, sponge-like finish.
- Griddle, Pan or Mogogo/Mitad (if you have): The final act takes place on the cooking surface. Whether you use a griddle, a pan, or the traditional Eritrean mogogo or Ethiopian mitad, the key is to achieve the iconic circular shape and slight sponginess that defines enjera.
Steps
Day 1: Initiating the Fermentation
I. Traditional Way: Mixing by hand
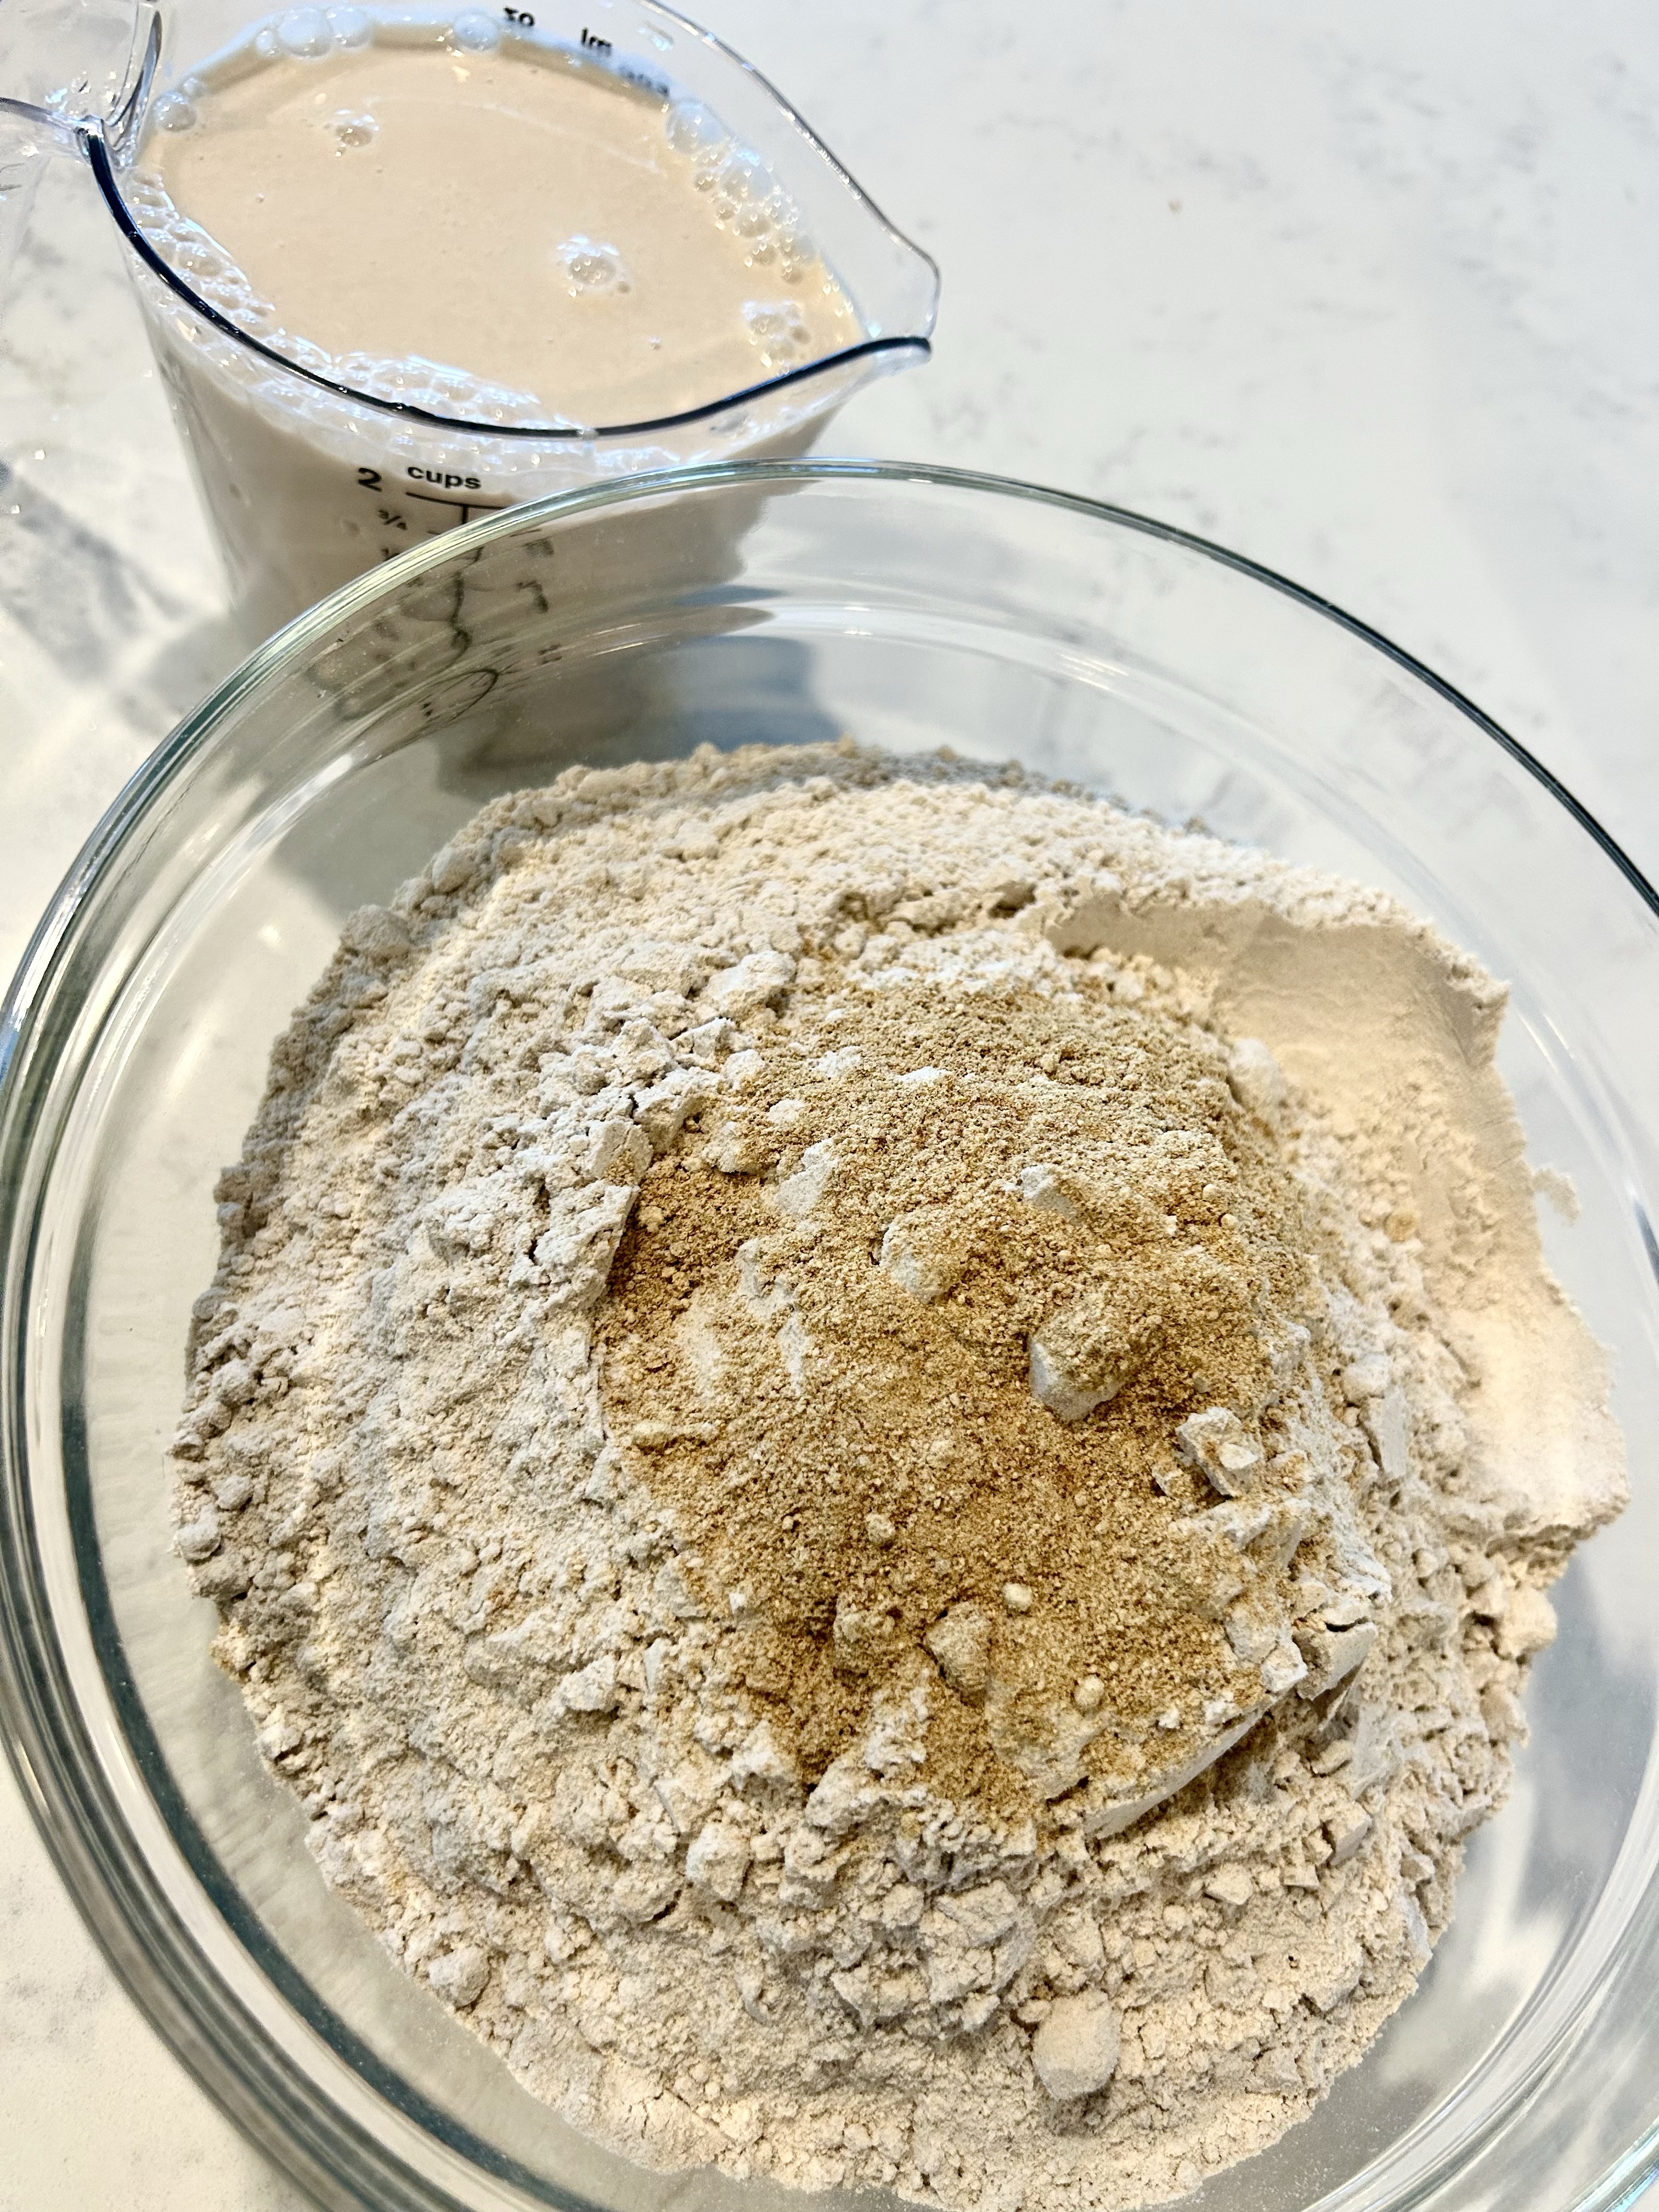
- Pour the starter, teff flour, quinoa flour (if you’re using quinoa seeds, do not add it at this stage), and fenugreek into the food-grade container.
- Mix the dough by hand, adding 1 cup of water at a time to ensure a lump-free paste.
- Once the dough forms a smooth paste, pour the remaining water without stirring.
- Cover and let it sit at room temperature for 3-5 days up to 7 days maximum.
- To prevent overflow during fermentation, place the container on a deep bowl.
II. Using a Stand Mixer:
- Place the starter, teff flour, quinoa flour, and fenugreek in the stand mixer mixing bowl.
- Use the flat beater or wire whip attachment and mix on a slow speed while adding water.
- Beat the mixture for 10 minutes until it becomes a smooth paste.
- Transfer the paste to a clean food-grade container, rinse the stand-mixer bowl with the remaining water, and pour it over the paste.
- Cover and let it ferment for 3-5 days up to 7 maximum.
- To prevent overflow during fermentation, place the container on a deep bowl.
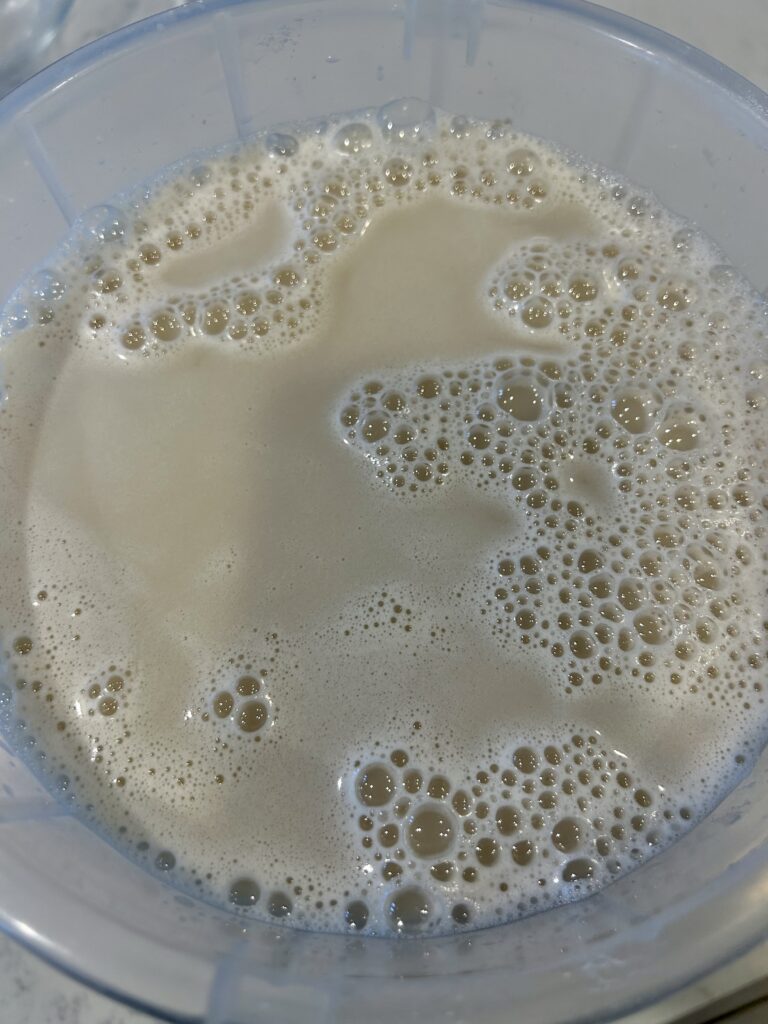
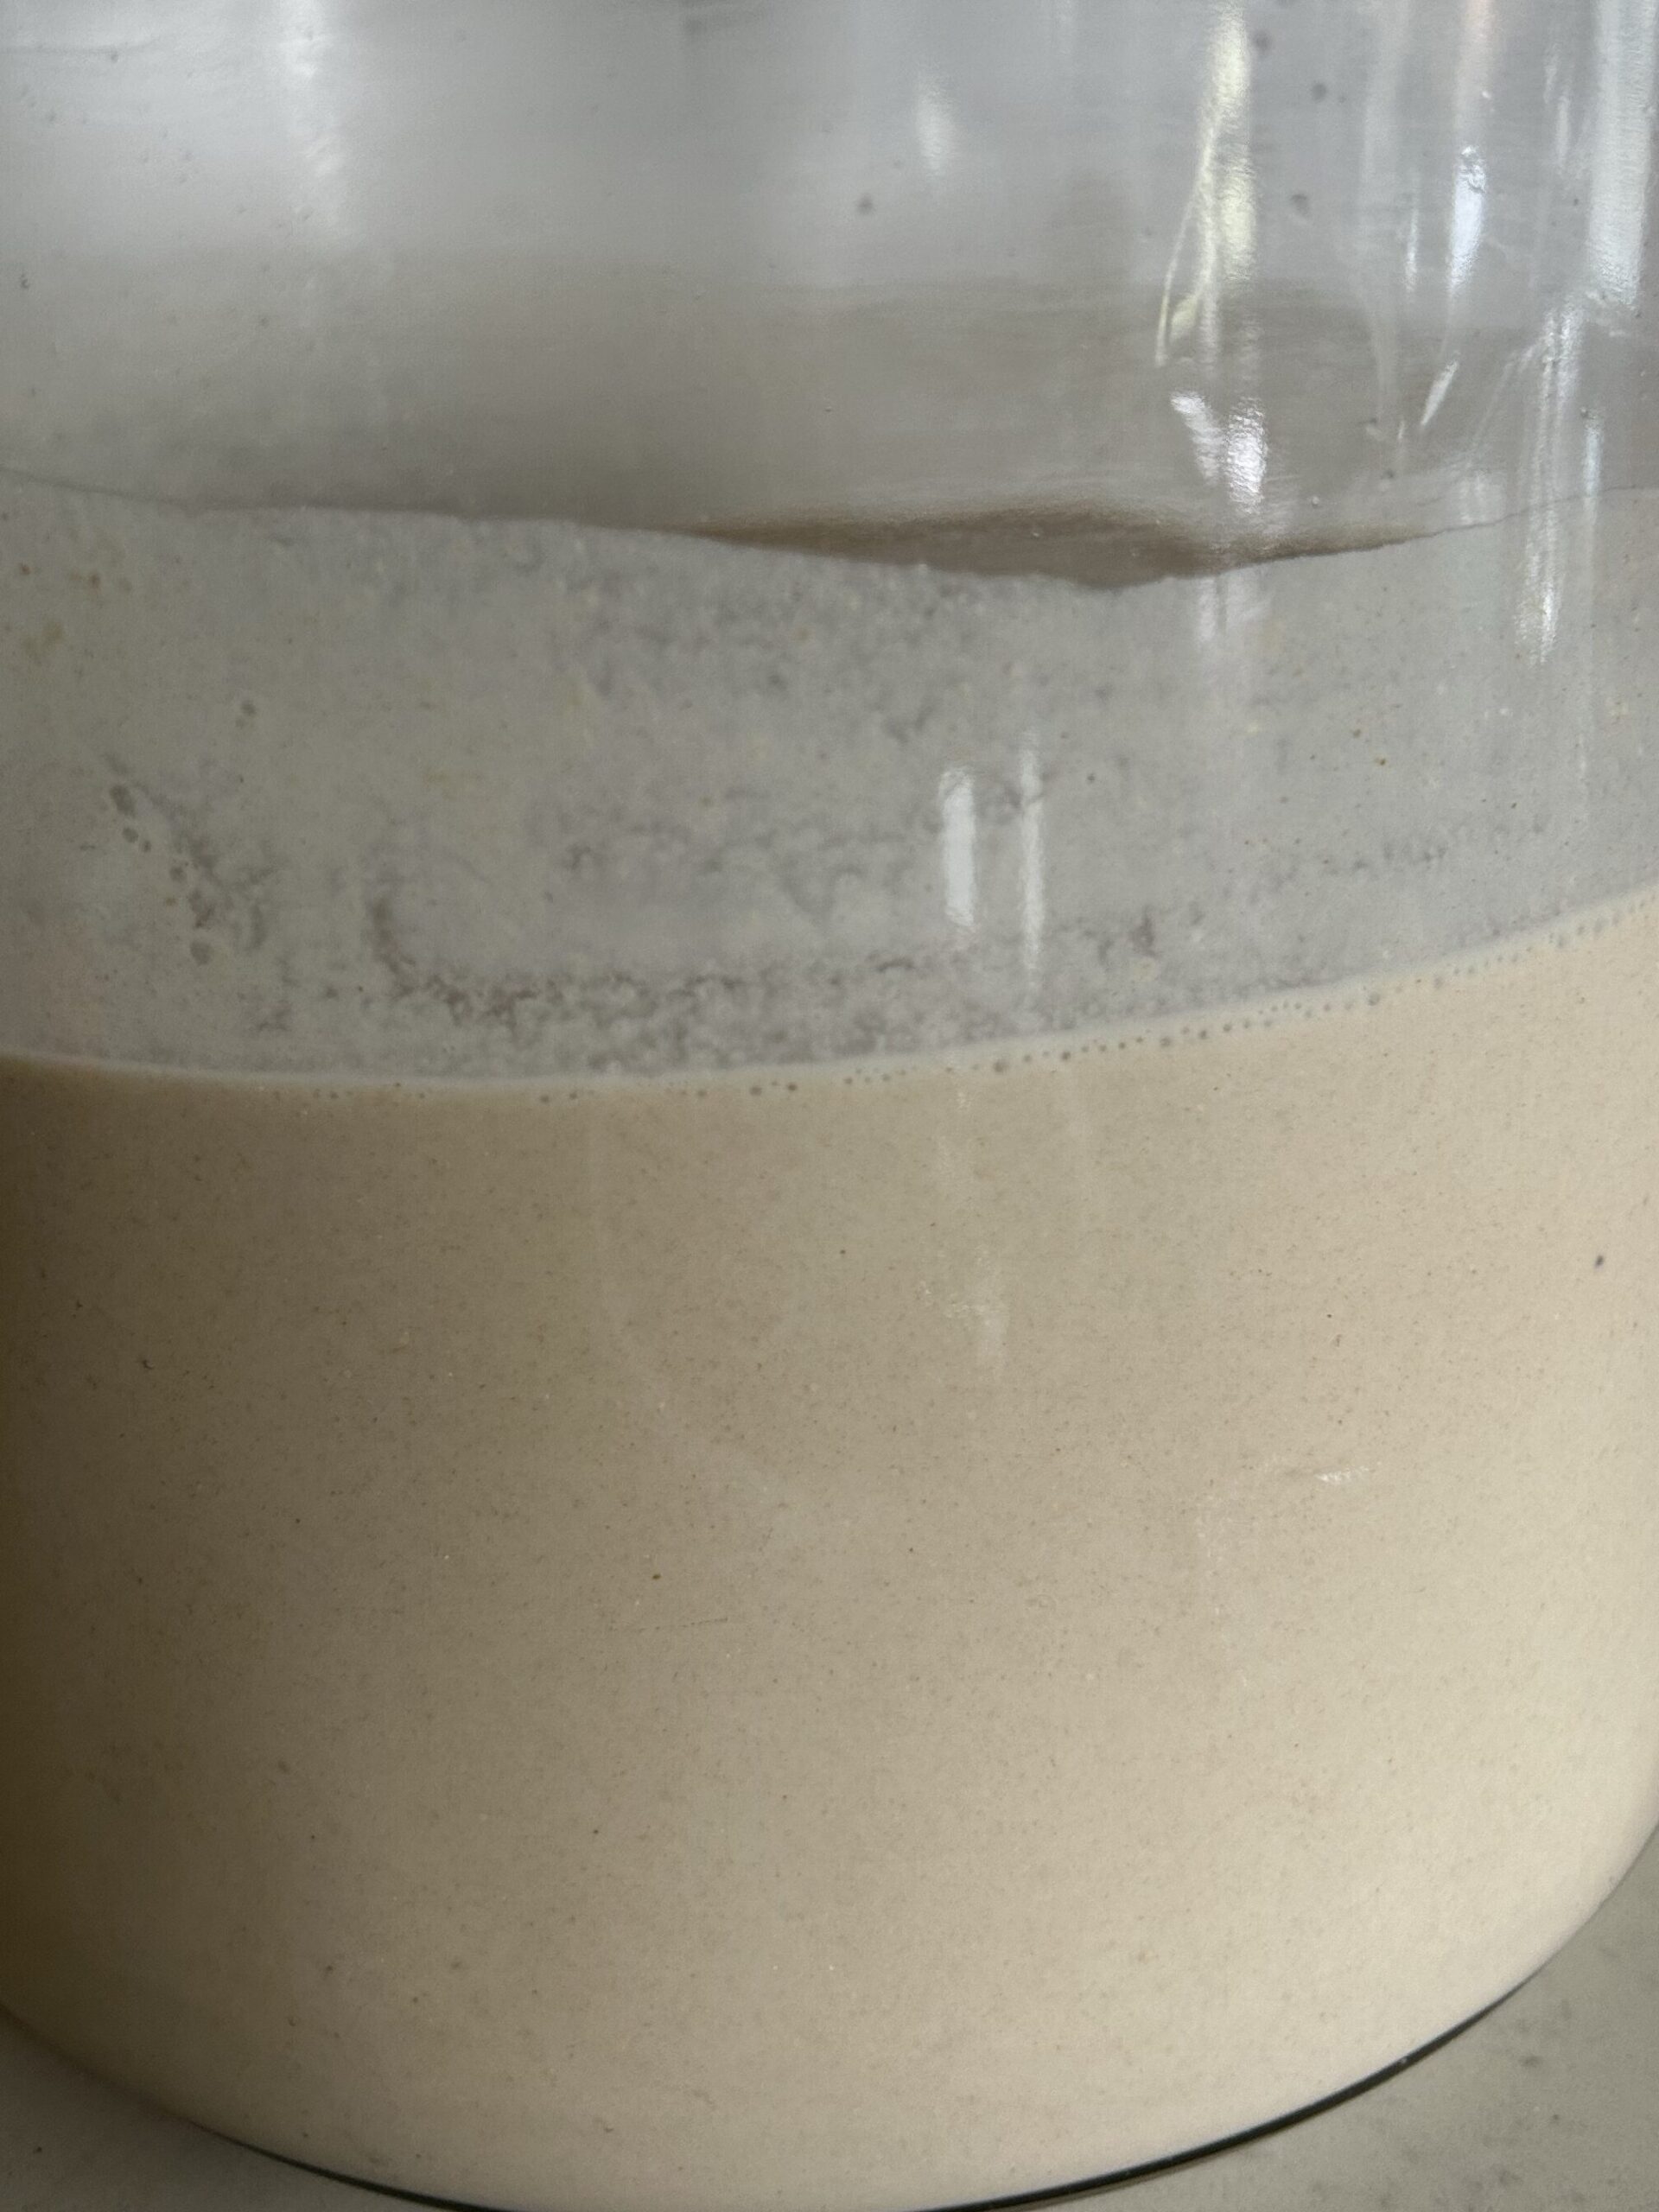
If you decide to proceed with the final stage prior to baking on the third or fifth day, this is how your fermented batter looks like.
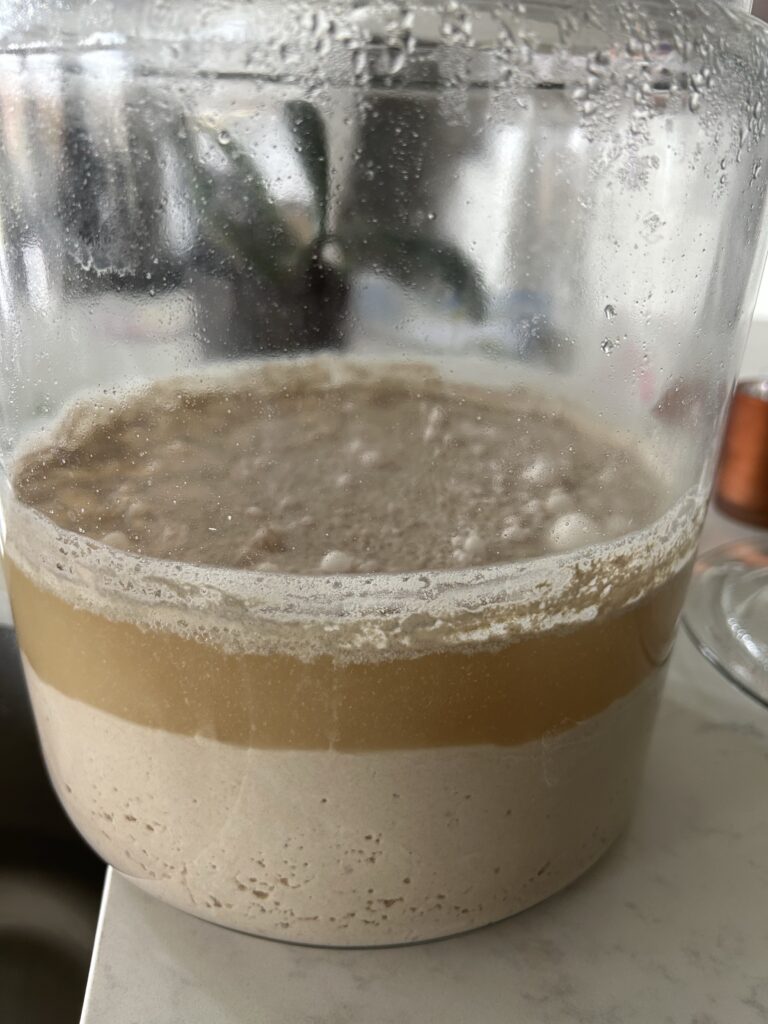
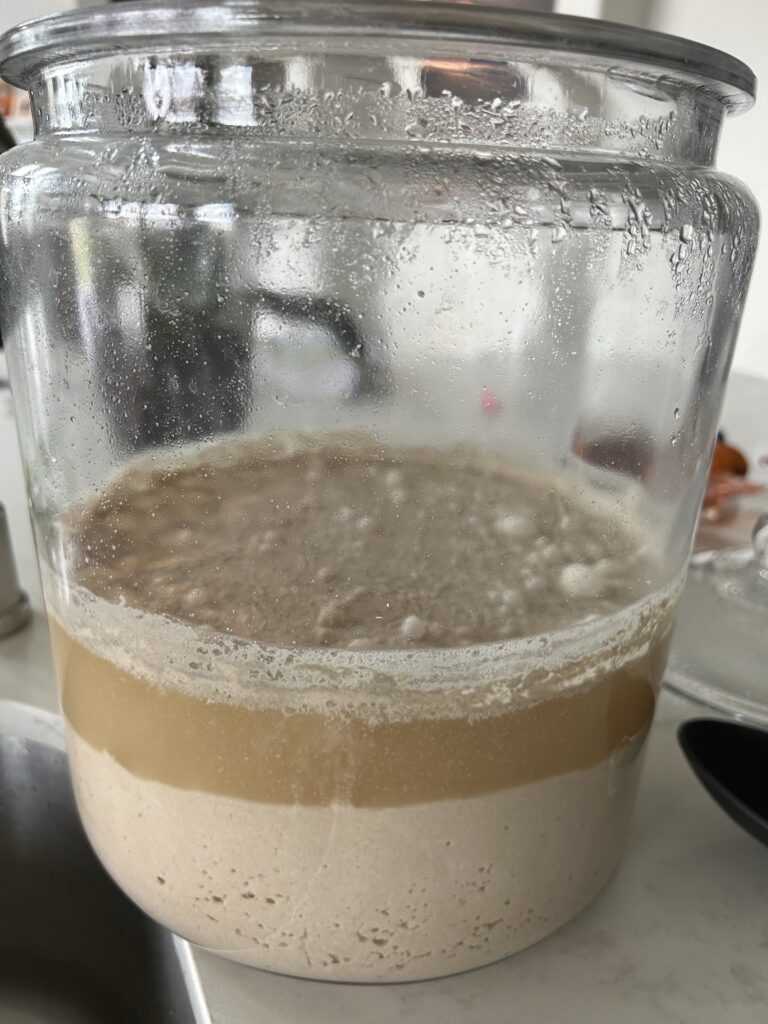
Day 3/5: Assessing the Fermented Dough
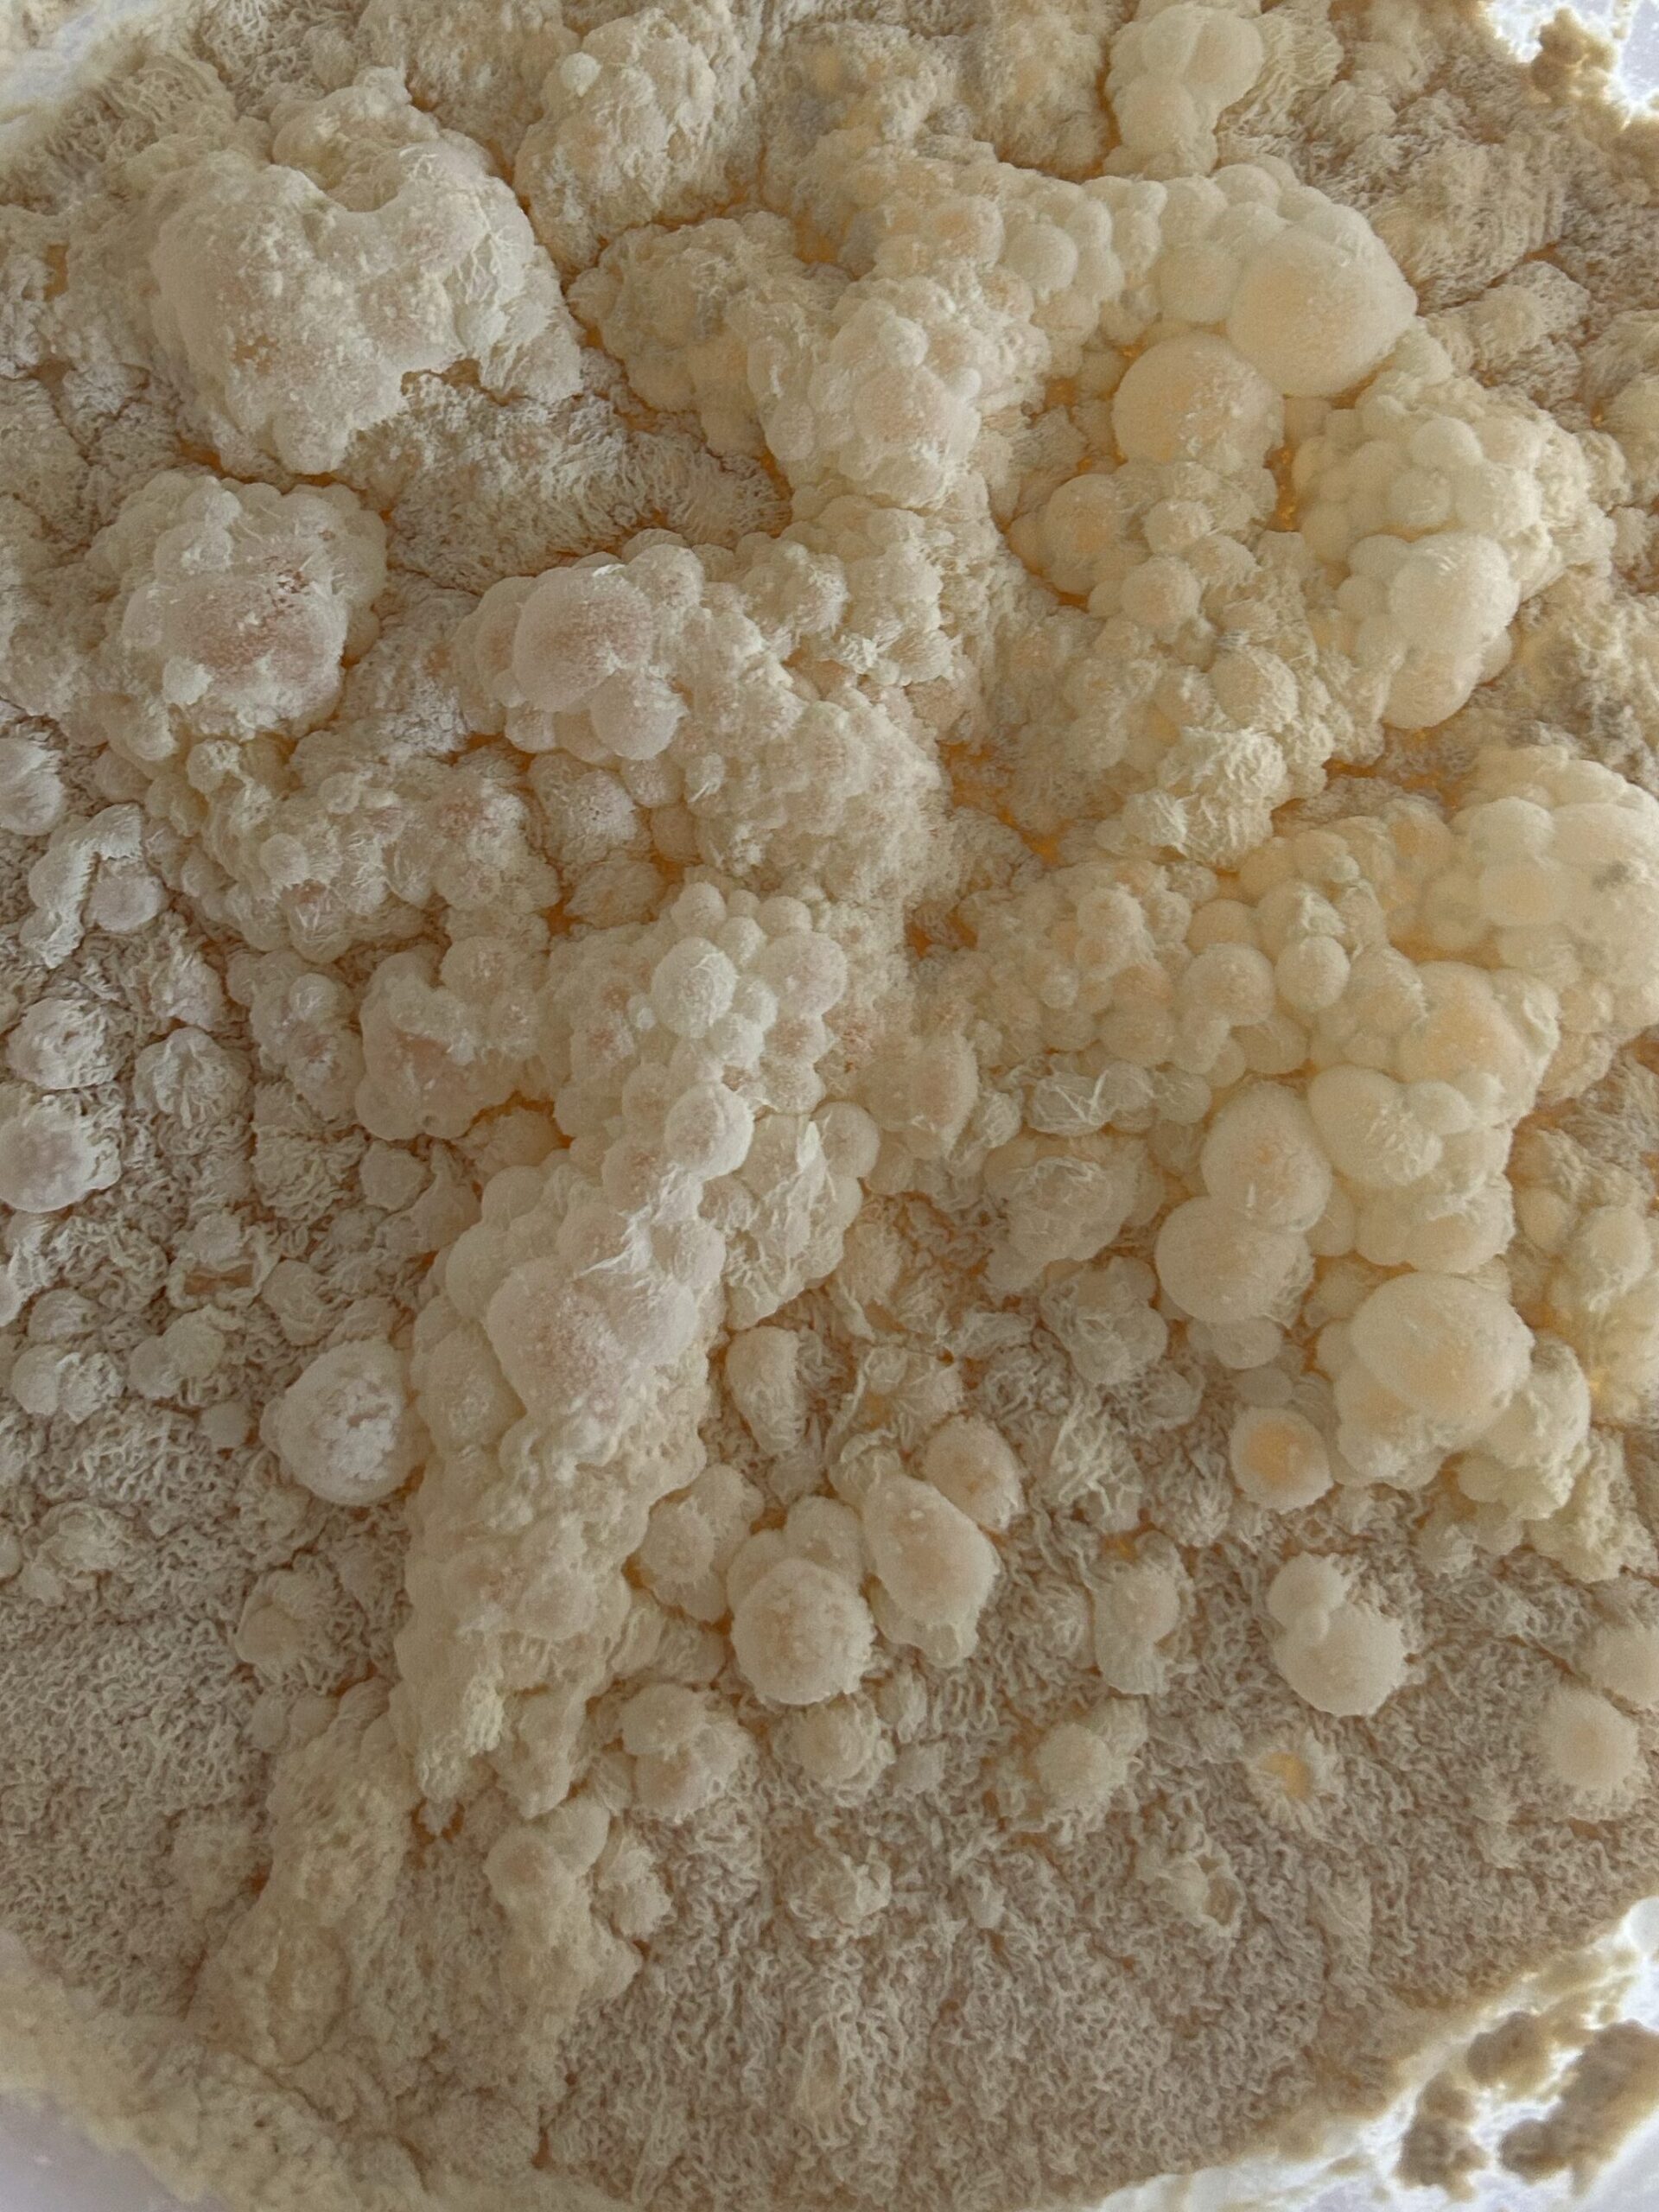
- Carefully remove the bubbly top part, discarding the watery portion.
- In a saucepan, boil 4 cups of water. Carefully pour the hot water in a deep bowl with cover and soak quinoa seeds for 4 hours (skip to the 3rd step if quinoa flour was used on Day 1).
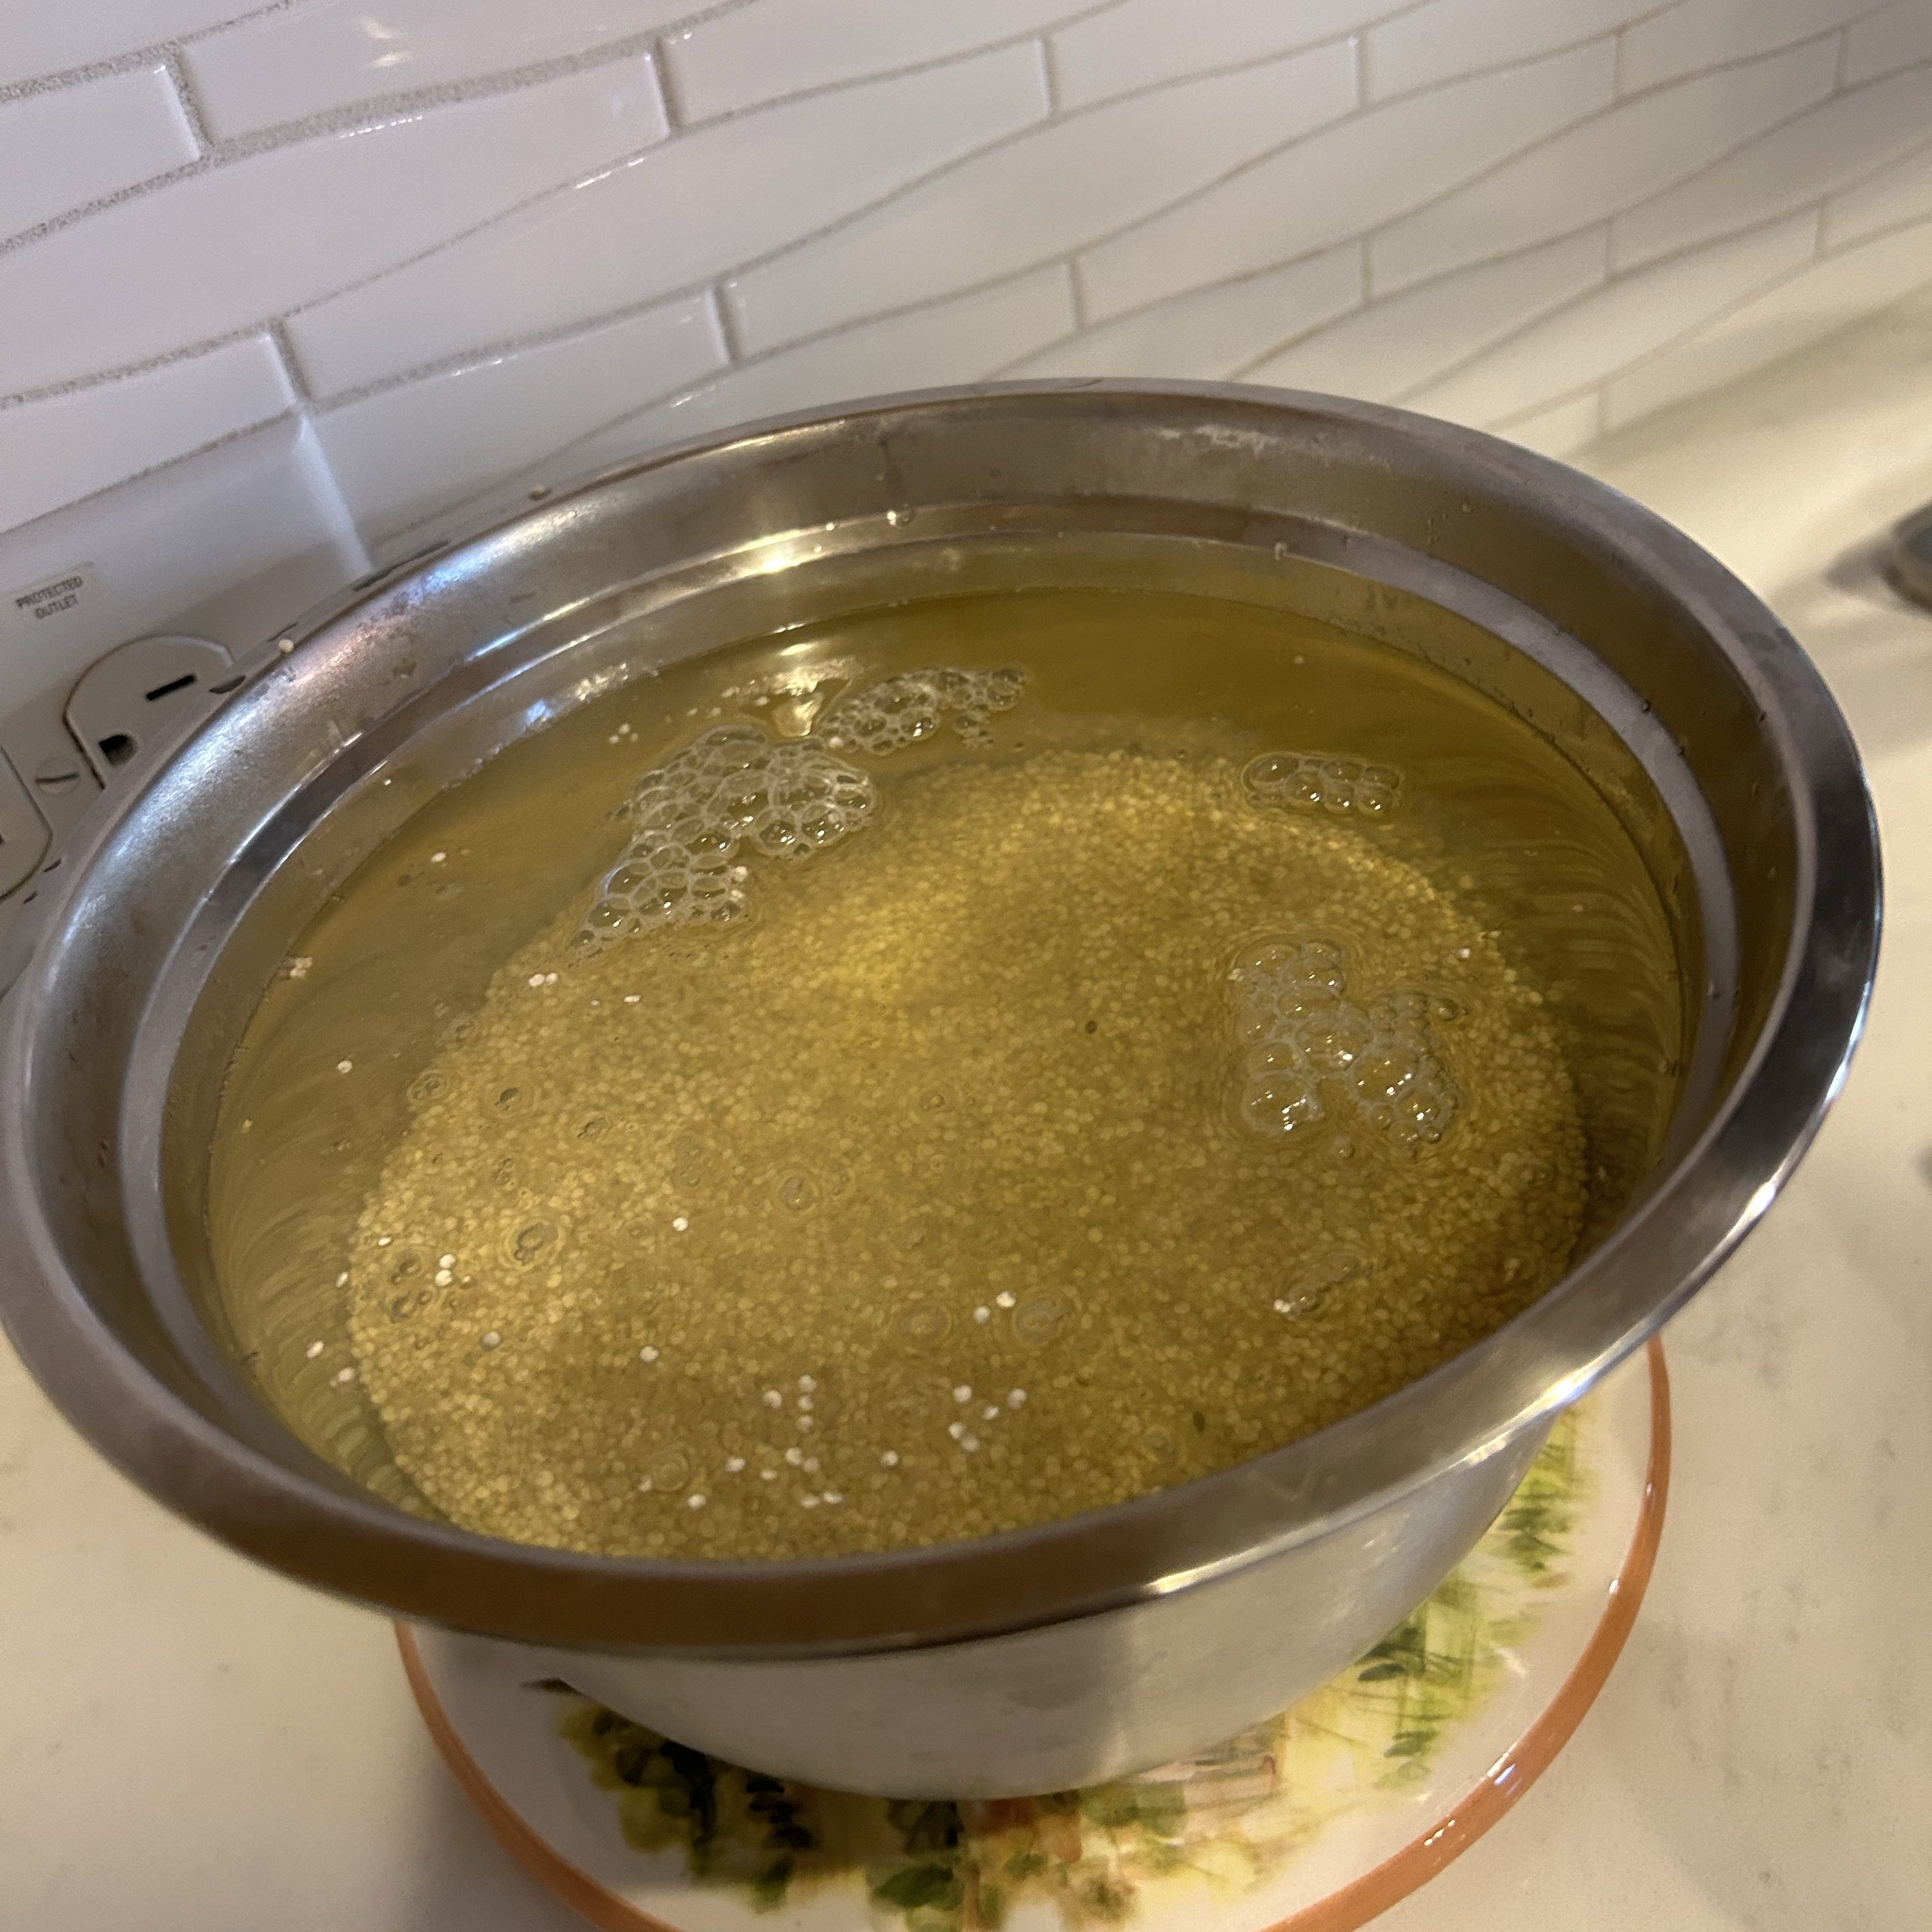
- In the same saucepan, boil 4 cups of water. Once boiled, mix one cup of the teff batter while stirring with an egg whip. On a low heat, cook for 10 minutes, set it aside to cool. This batter is called ‘lafa’ ላፋ in Tigrigna.
- After 4 hours, blend the ‘lafa’ and soaked quinoa seeds for 2 minutes, then add to the main enjera batter using an immersion blender (If quinoa flour was used at the very beginning, only mix the lafa in your main enjera batter and mix it well with an immersion blender for a minute – you don’t need to use a blender).
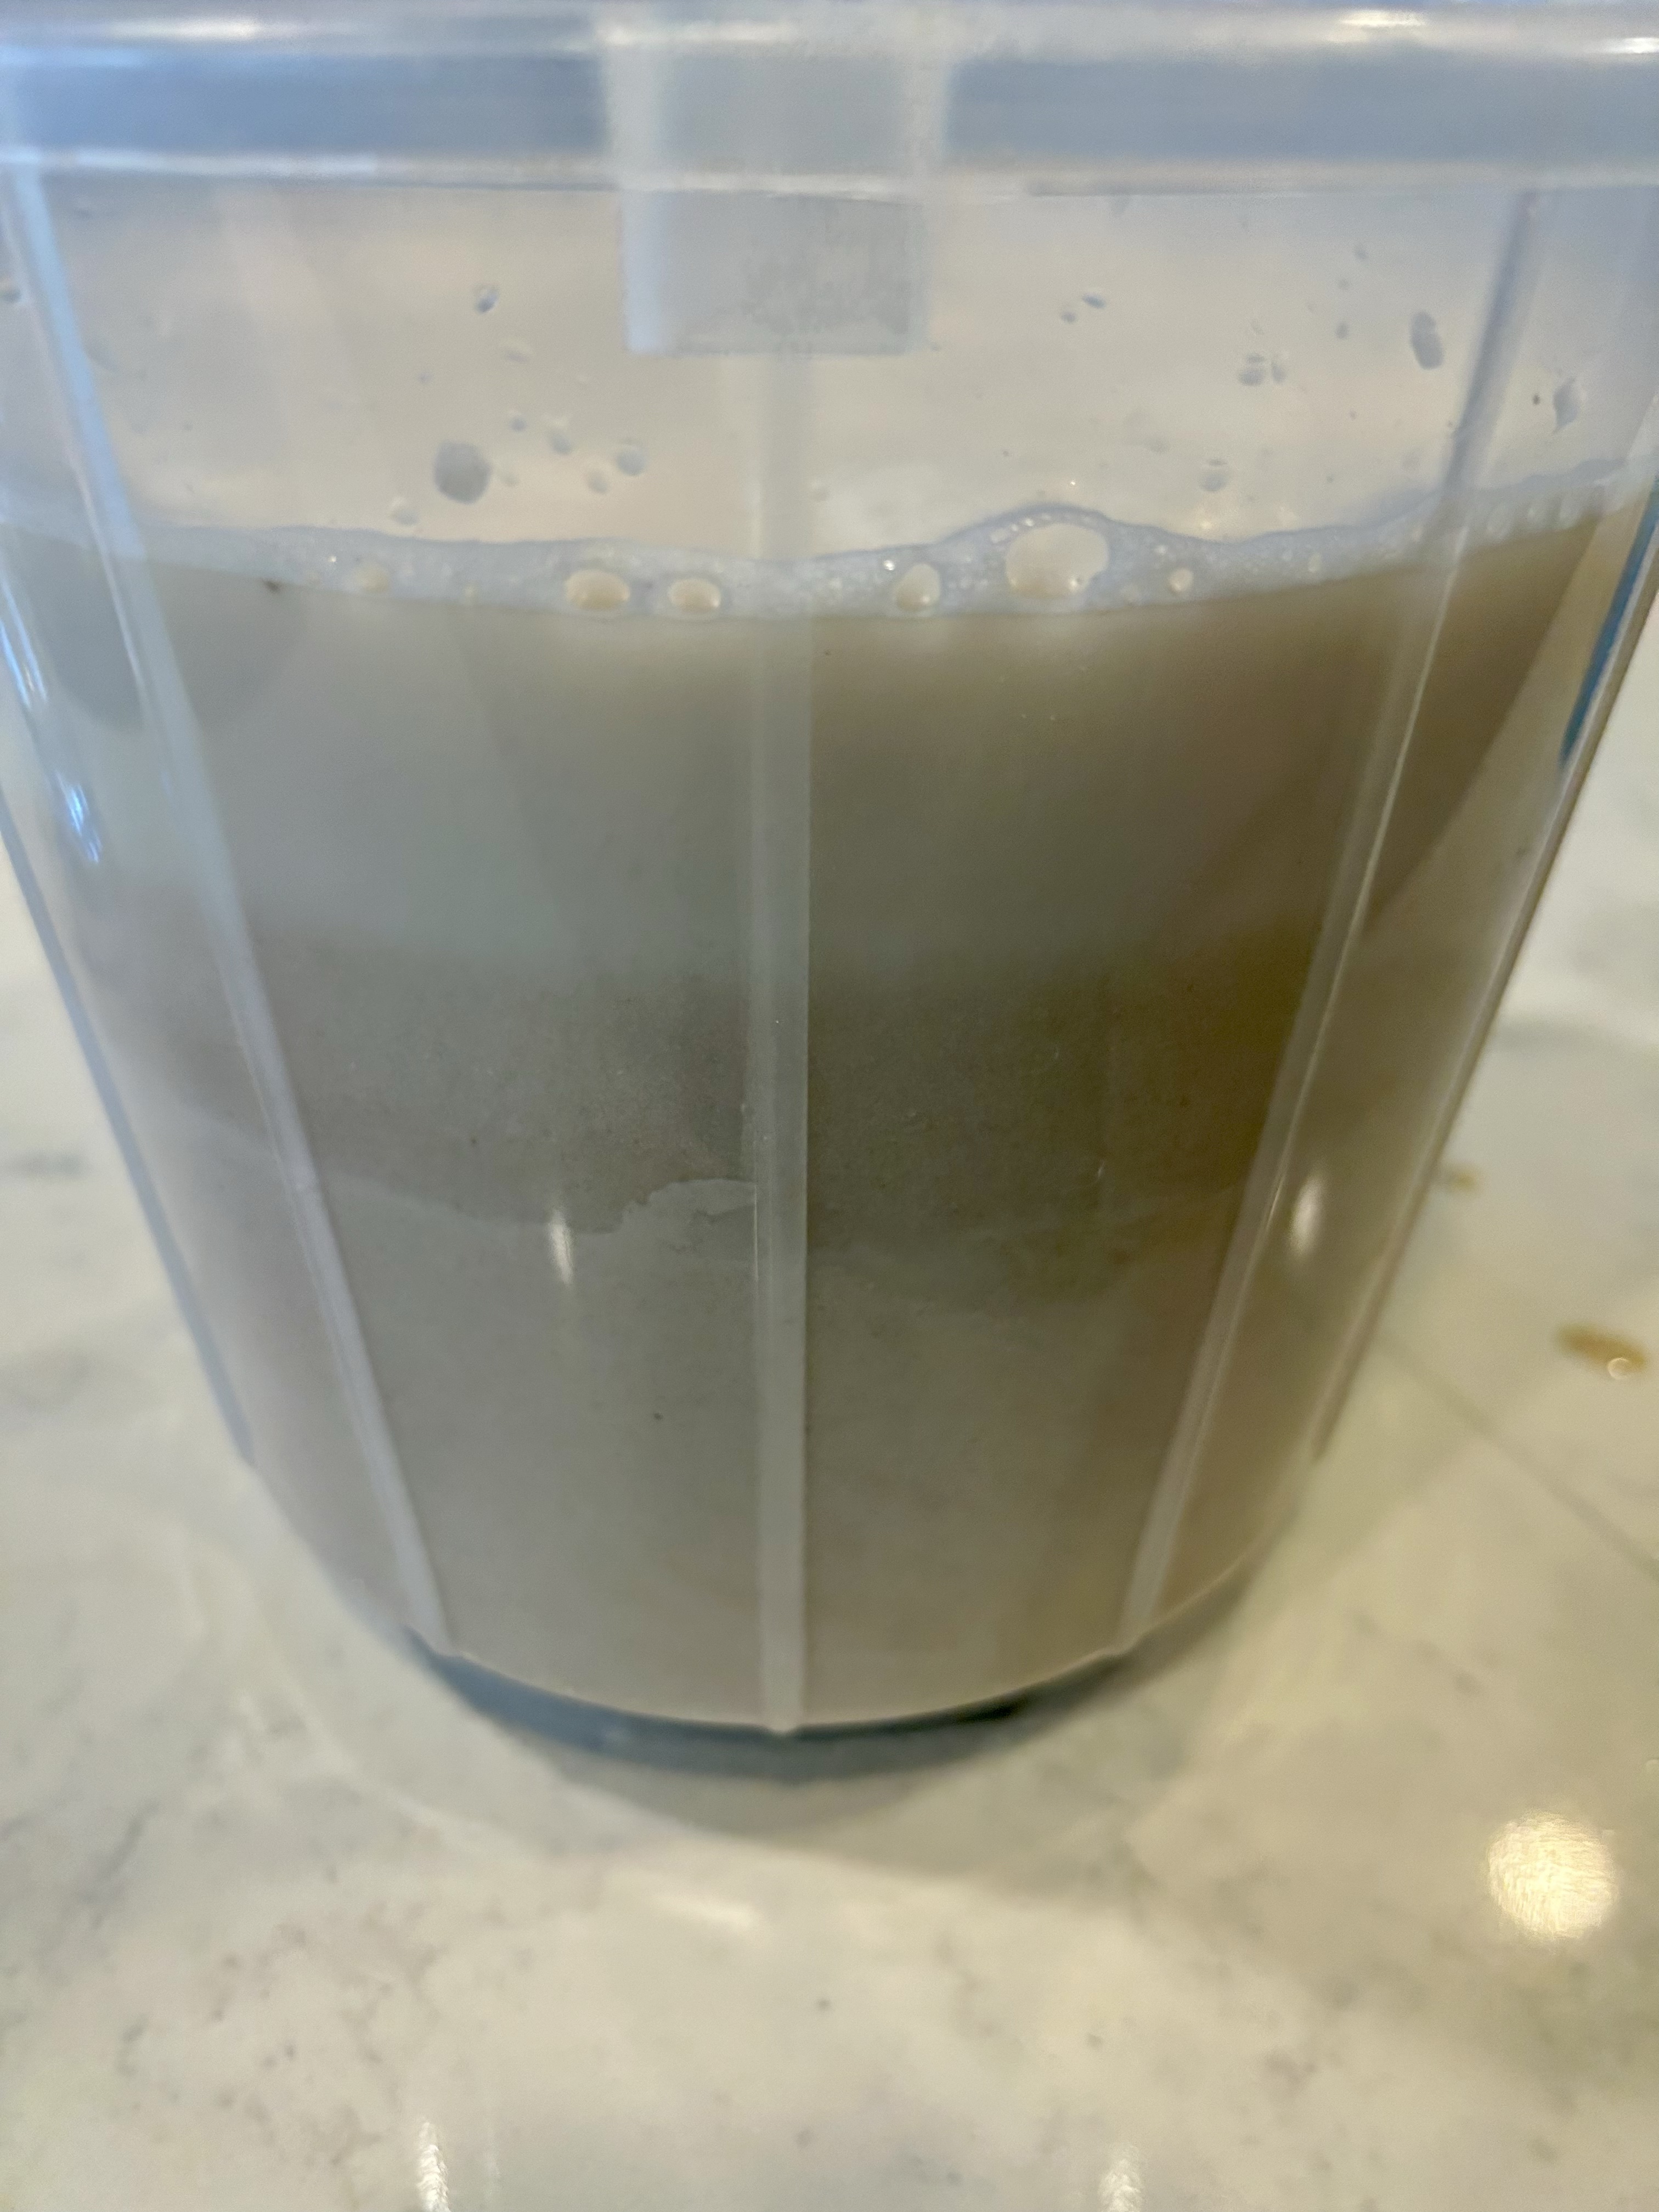
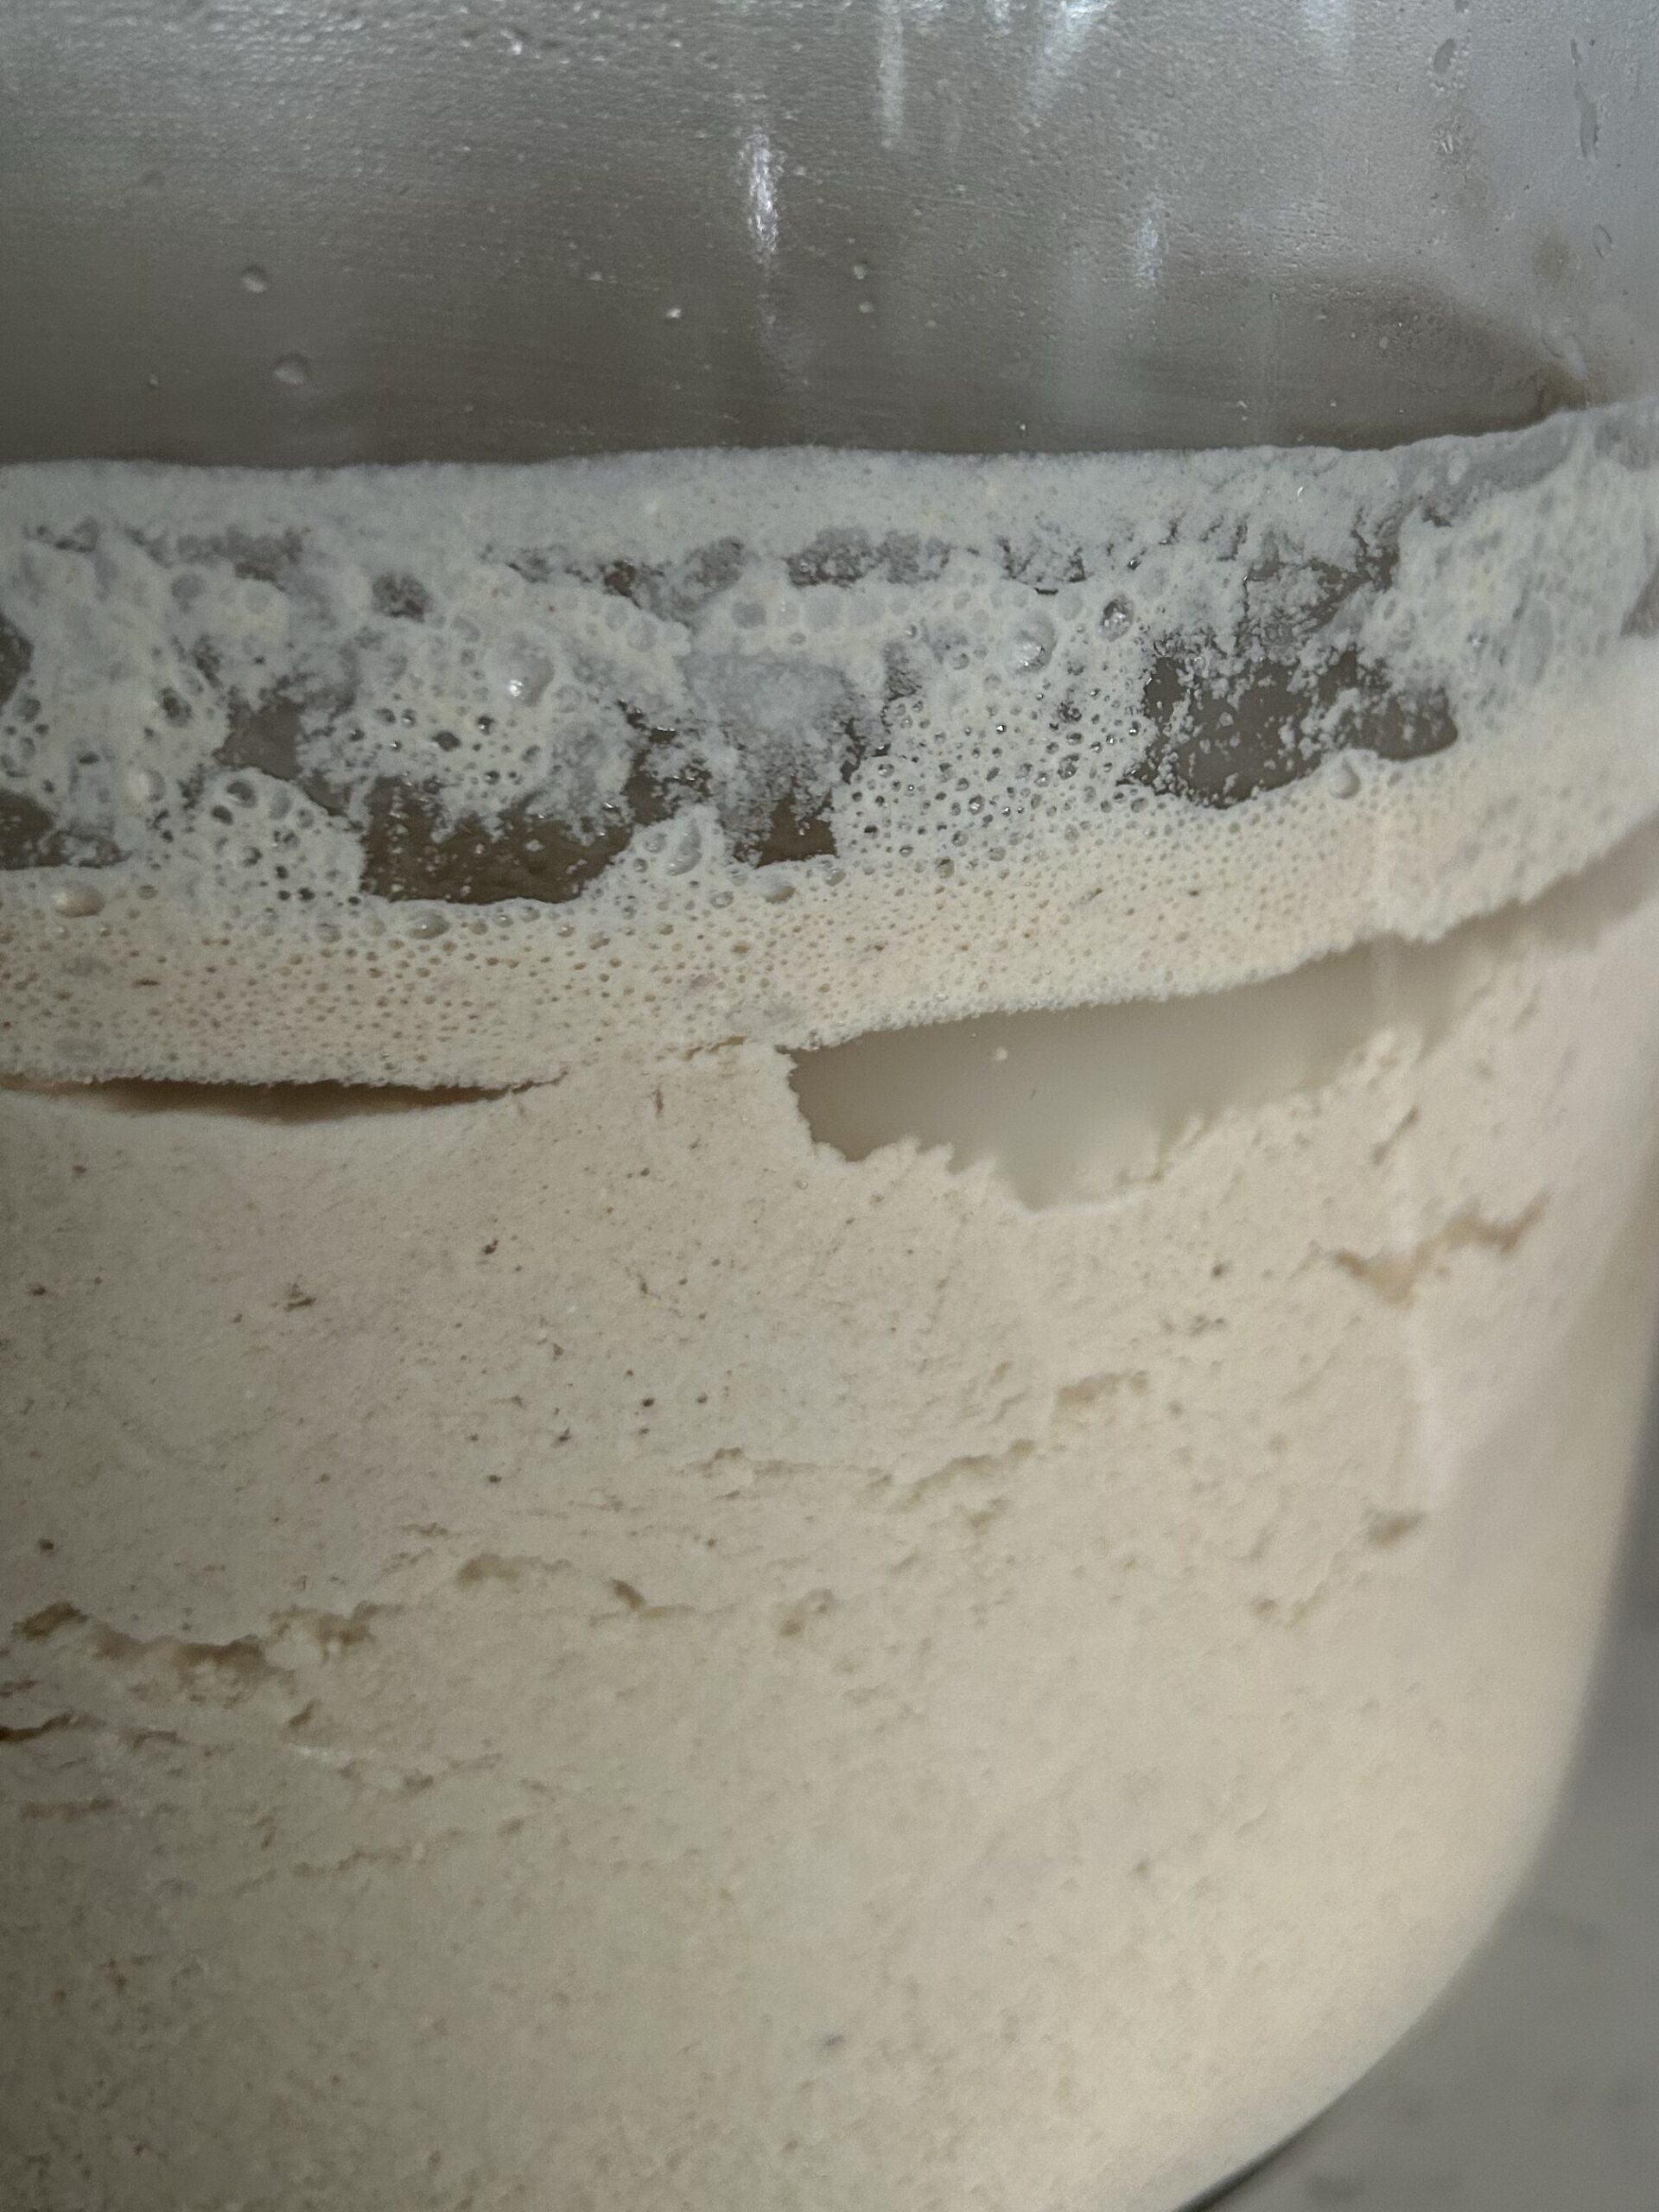
- Let it sit for at least two hours while observing the formation of bubbles and rising. You can let it sit up to 24 hours.
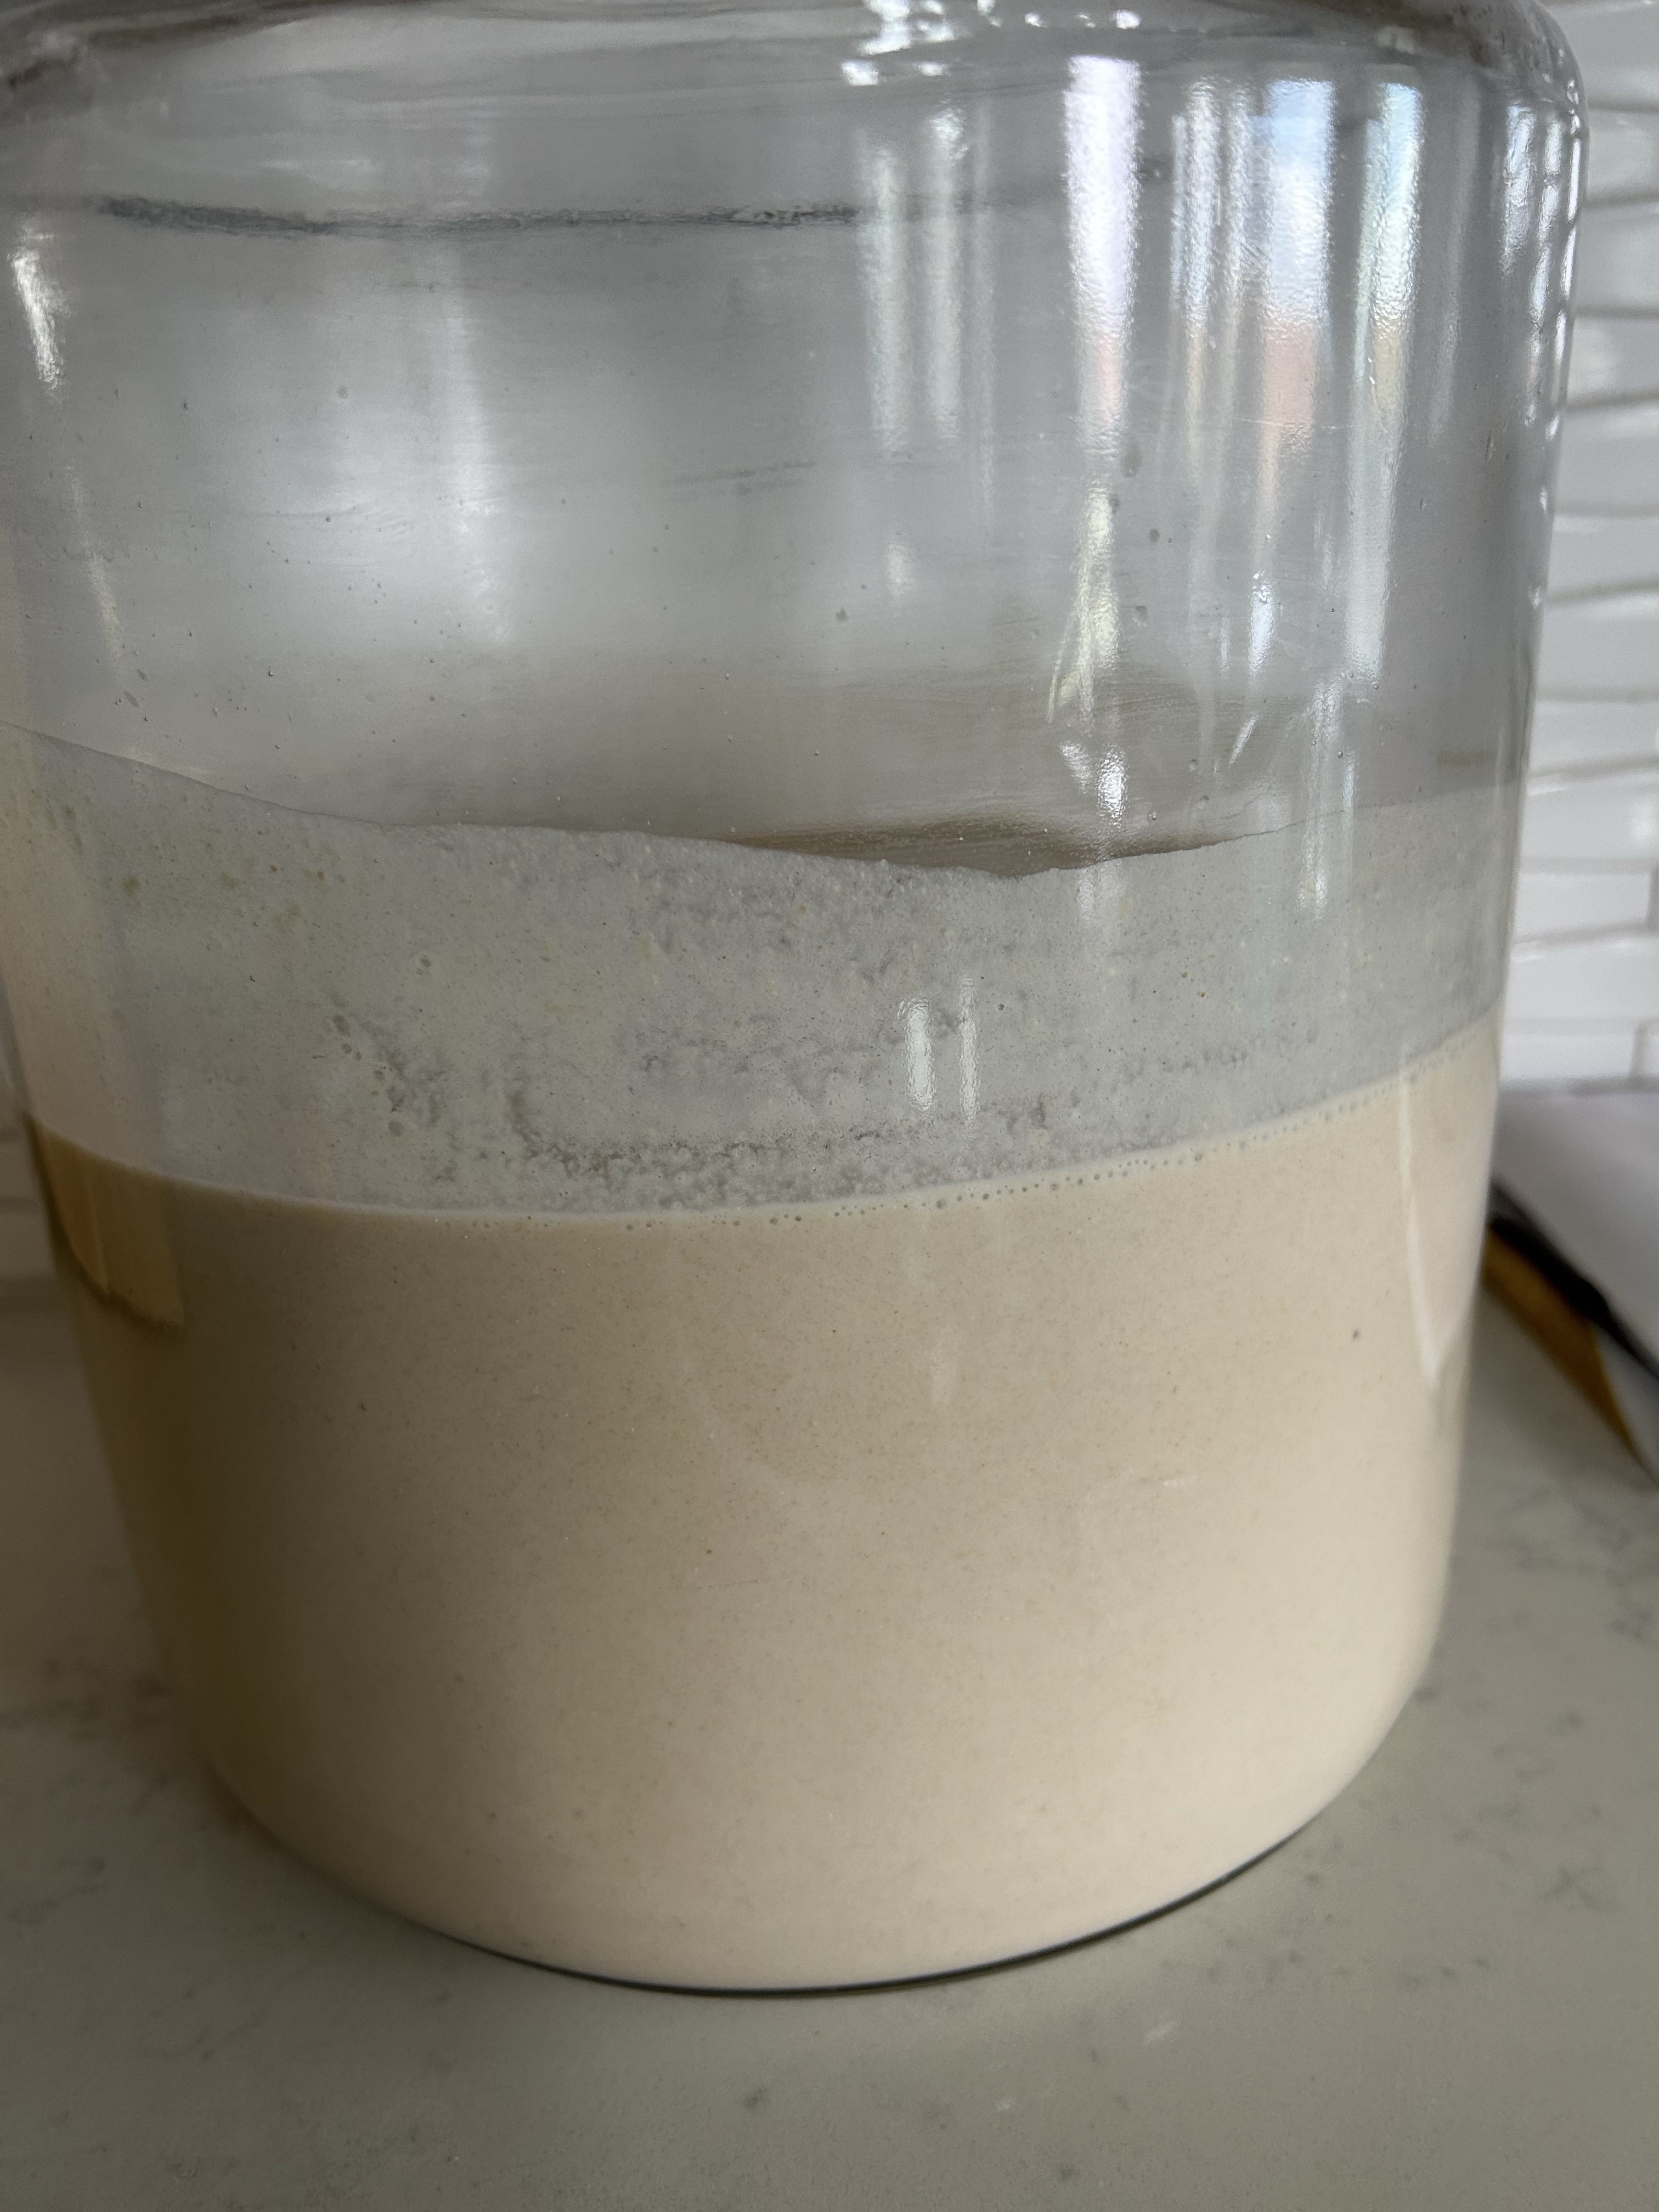
- The water will separate from the dough.
Finally: Baking the Injera
- Preheat your mogogo/griddle/pan on a medium high heat according to instructions, preferably 3000F.
- Save the watery part of the teff batter in a cup and mix the dough, achieving a consistency less thin than a pancake. (If the enjera is thick for your taste/liking; add the saved watery part to make reach your desired consistency. Do not add plain water)
- Pour 2 cups of enjera batter onto the mogogo/griddle/pan in a circular motion, starting from the outer to the inner part.
- Cover for a minute, allowing small holes to form, indicating a fully baked enjera.
- Remove, let it cool, and savor your hard work with a stew or a sprinkle of salt to taste.
Storage
If you’ve followed the recipe without adjustments, this yields 10-12 pieces of 16-inch enjera. Once cooled, store your injera in a food grade plastic bag to avoid dryness.
Room Temperature (Cooler Weather):
- If you’re in a cooler climate, you can confidently store it at room temperature for up to 4 days.
Refrigeration (Hotter Summer Months):
- During the hotter summer months, or if you reside in a warmer region, opt for refrigeration to prolong the freshness of your enjera.
- Place the enjera in a ziplock bag to prevent moisture and refrigerate for up to a week.
Freezing (Extended Storage):
- To extend the storage life even further, consider freezing your enjera. It can be frozen for up to 3 months without compromising its quality.
Reheating with Care:
- Prepare the Enjera: Take the desired number of enjera pieces from storage.
- Low Heat on Griddle/Mogogo/Mitad: For reheating, place the enjera on a low heat surface such as a griddle, mogogo, or mitad. This gradual reheating ensures that the enjera warms evenly without losing its soft and spongy texture.
- Mindful Heating: Pay close attention to the reheating process. Enjera responds well to gentle warming. Overheating may lead to dryness, so keep the heat at a moderate level.
- Savor the Freshness: Once reheated, your enjera is ready to be enjoyed. Whether paired with a savory stew or relished on its own, savor the freshness that has been preserved through mindful storage and careful reheating.
NOTE
- I’ve tried to make injera since I moved to the U.S. So far this is the only recipe that works for me.
- The only reason I use quinoa seeds instead of quinoa flour is because it is cheaper.
- I prefer to use sourdough starter over commercial yeast.
- When storing enjera, I usually place cotton cheesecloth to avoid the food from touching the plastic cover.
Leave a Reply